By ORO | 23 July 2019 | 0 Comments
learn the whole process of Jewelry Making in 1 minutes
We see the shining jewelry and diamond ring, a variety of shapes, styles, perfect deduction of beauty, fashion and classic. In fact, each piece of jewelry through a number of processes, design, making,abrasive ,polishing , Buffing and so on, each of these steps to be fine operation
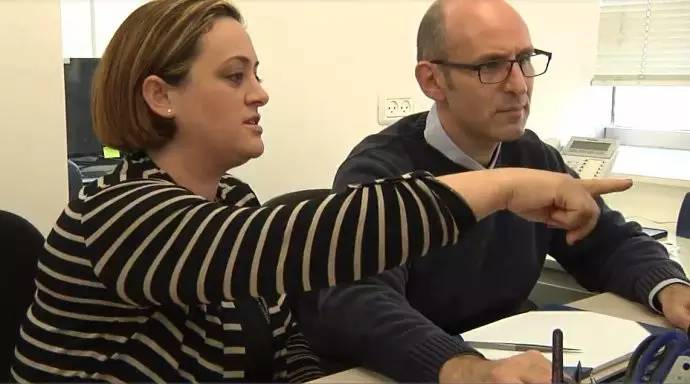
1. Identify customer requirements. Communication between designer and client.
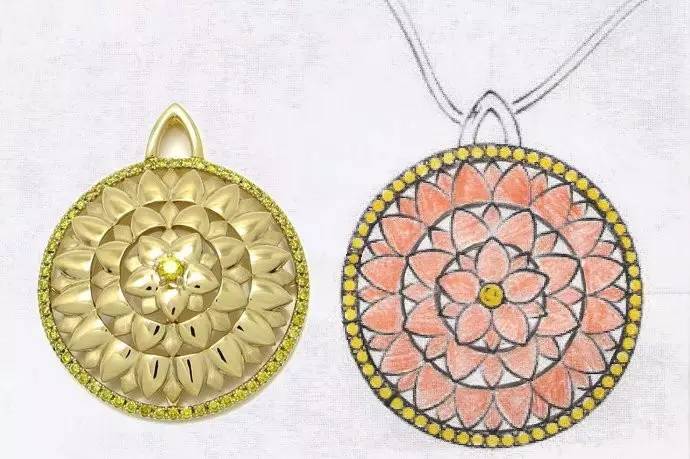
2. Jewelry design generally start hand-drawn drawings, late, the design team will be used as a blueprint for continuous refinement and adjustment.
3. For custom customers, the scan is performed first to obtain accurate dimensions, faceted distribution, and 3D structural data. The designer can easily call the template in the starting stage of CAD, and carry out the design such as stone-removing positioning and virtual assembly.
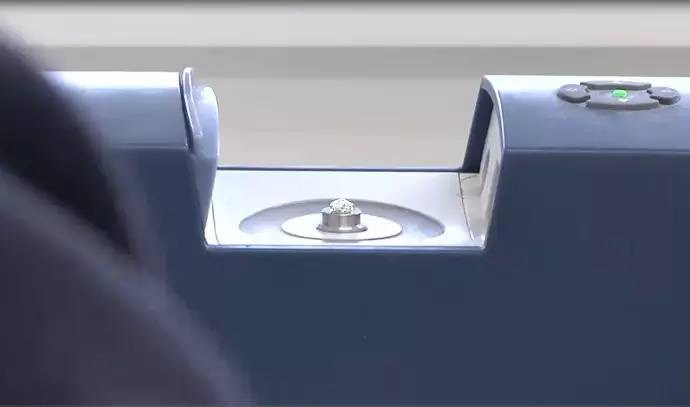
4. GET READY TO TAKE MEASUREMENTS ON THE GEM

5. Get the specs
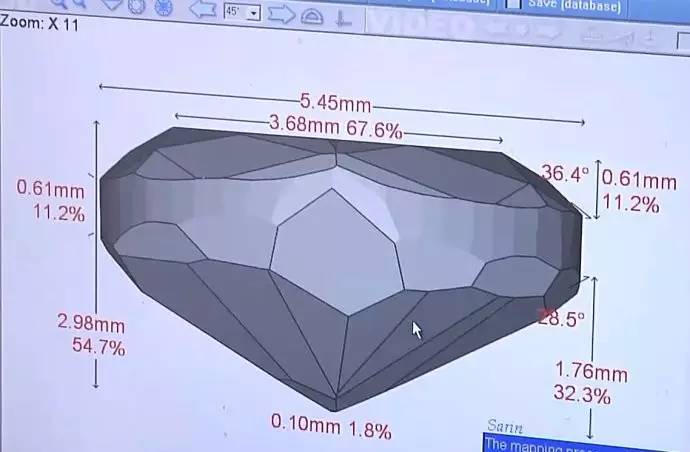
6. To create a 3D GEM GEOMETRY
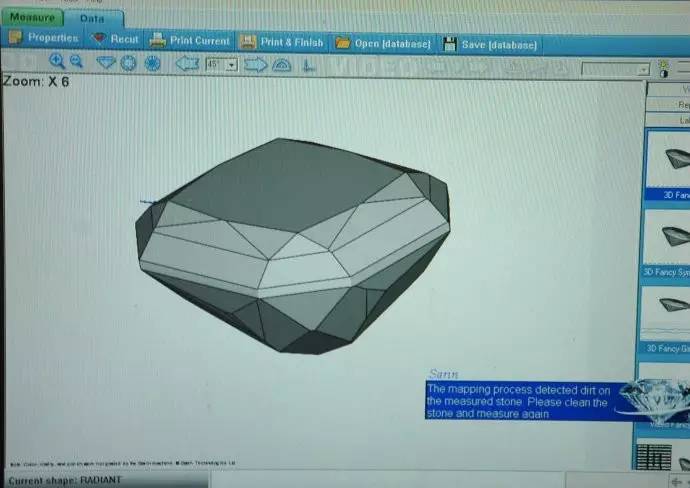
7. USING CAD JEWELRY DESIGN SOFTWARE TO DESIGN THE FIRST EDITION

8. Locate the gem and generate the notches and claws
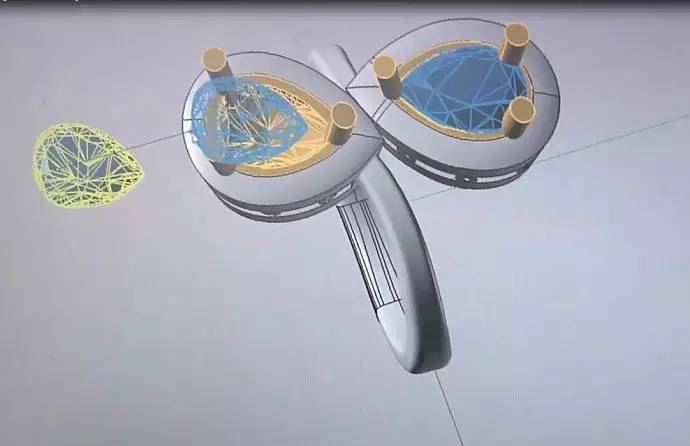
9. The 3d model designed by CAD can be output to 3d printer, and the wax plate can be printed quickly and accurately.

10. Wax Plate of Wax Sprayer 3D MOLDING

11. Wax Plates for multiple customers at a time
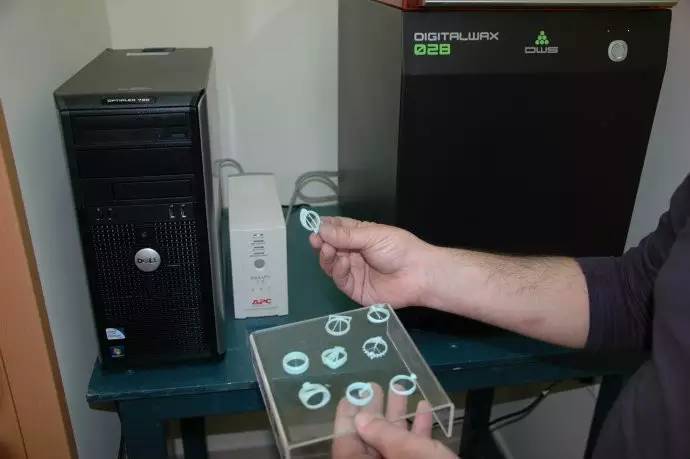
12. Recent Stencil
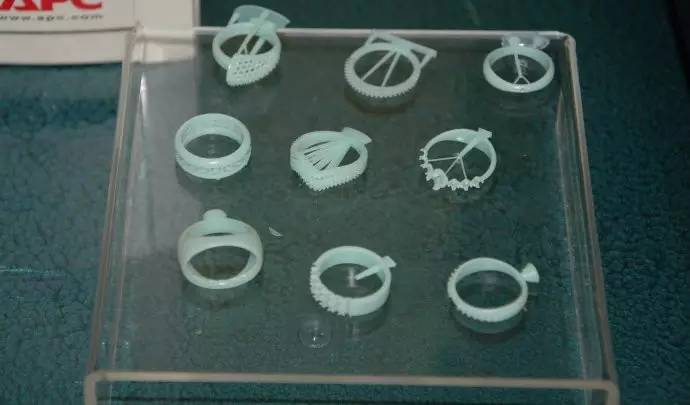
13. Castings are made by the lost-wax casting process (also known as investment casting) . The picture below shows the preparation of the plaster mold.

14. Hot-baked Plaster Mold.


15. Planting wax tree, will more than customers wax version "seed" on the wax tree, in order to one-time casting out.
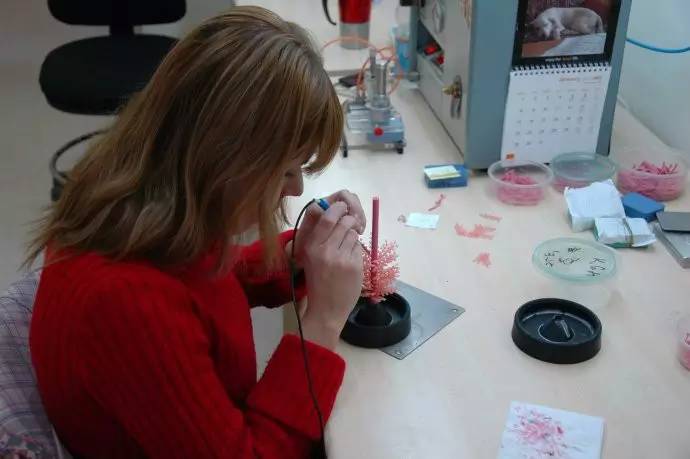
16. Wax Trees and molded embryos.
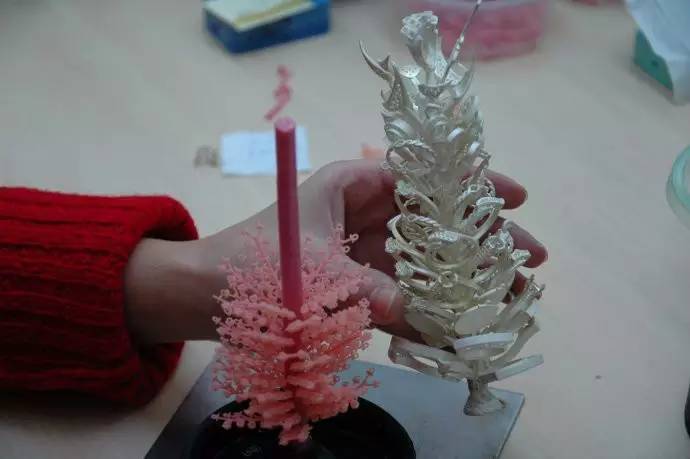

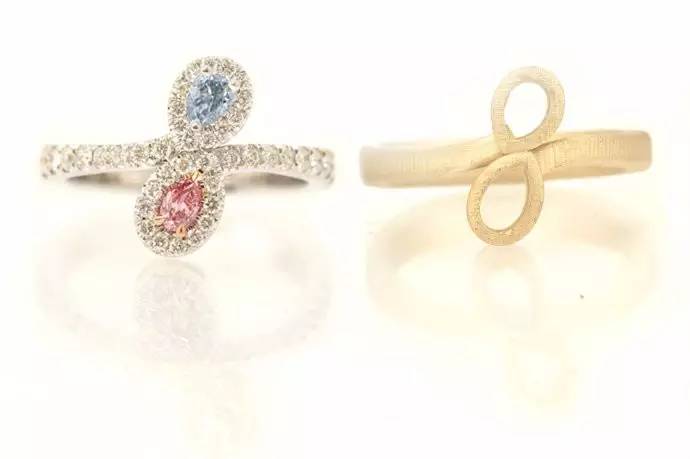
17. Each piece of jewelry is cut out so that it can be processed separately. The diagram below shows a comparison between the casting and the final product
18. The next step is to take the mold and Get the casting ready.
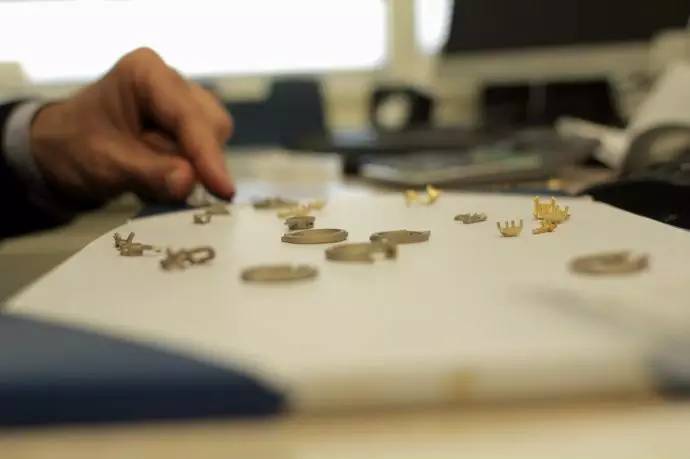
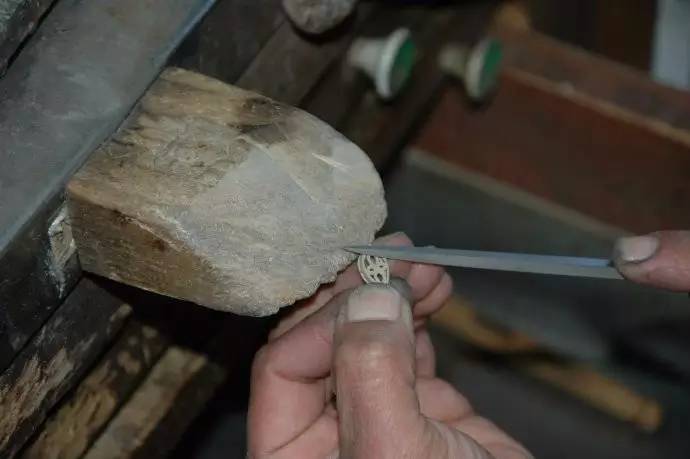

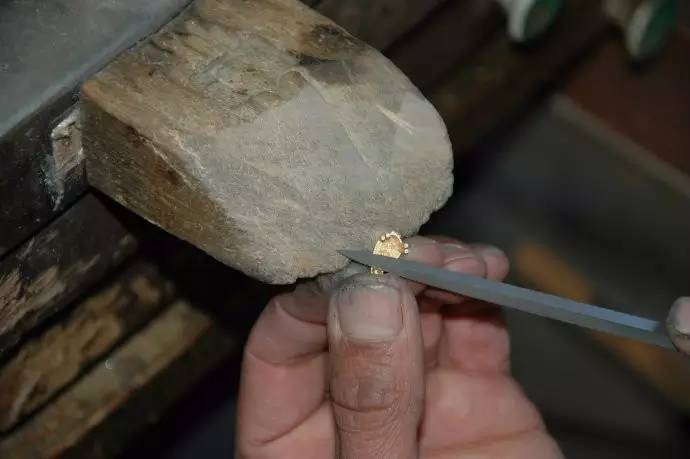
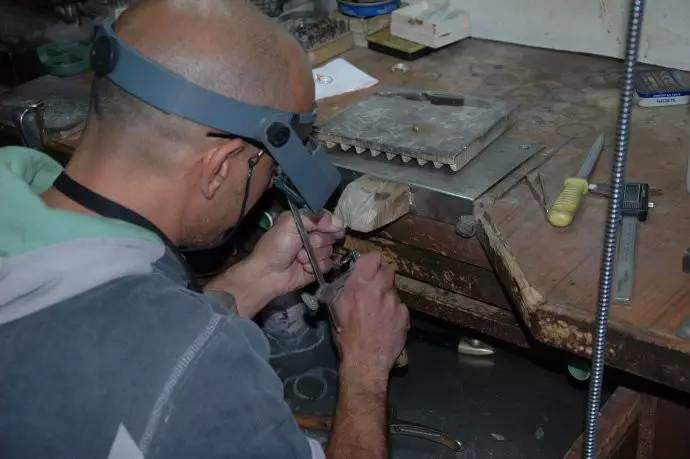
19. Once the mold is finished, the mosaic process is started. It is mainly to fix the main stone and the matching stone on the respective inlay, which is a very important precision working procedure.

20. Mosaic by means of a microscope
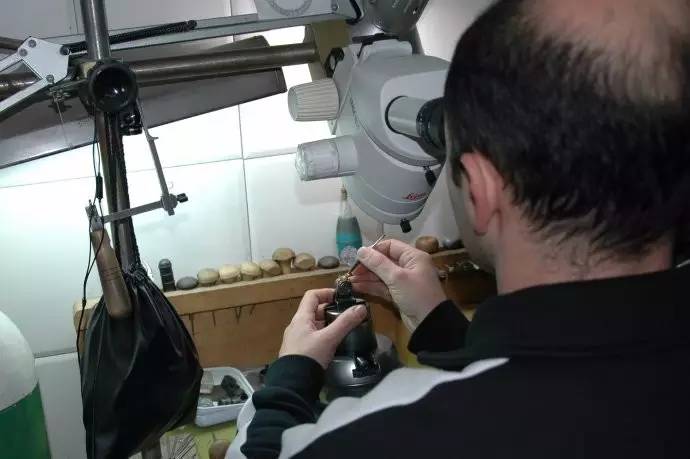

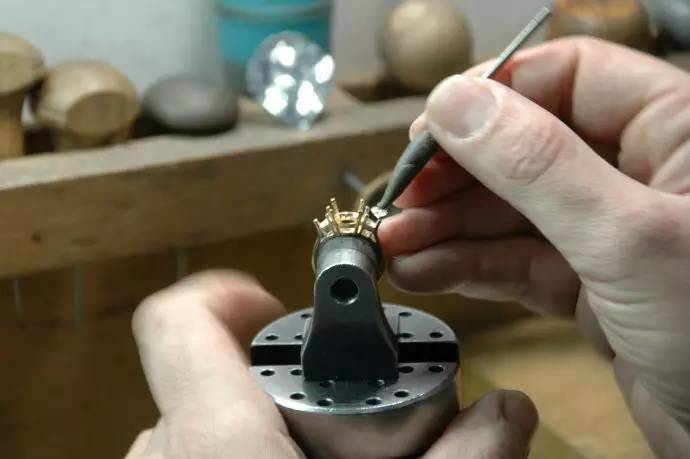
21. When the inlay is complete, a final polishing is performed. Make sure the metal surface is as bright as a mirror. Finally, the laser marking equipment is used to engrave the characters at the specified position.
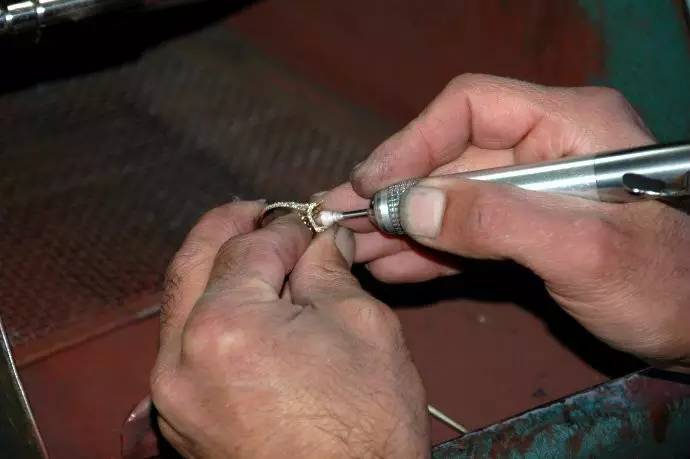
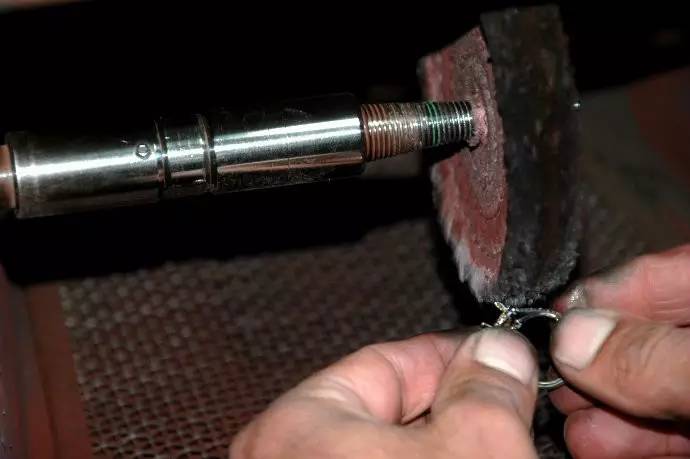

22. ELECTROPLATED JEWELRY

23. Quality inspection-inspection of the workmanship of each jaw and Notch
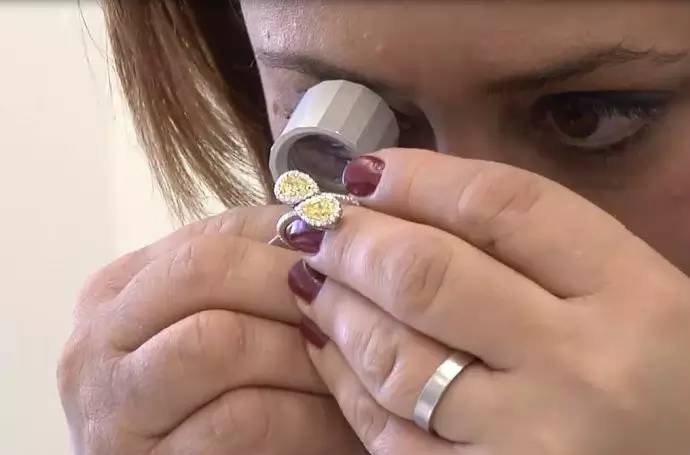
24. A final examination of the appearance, structure, or surface.
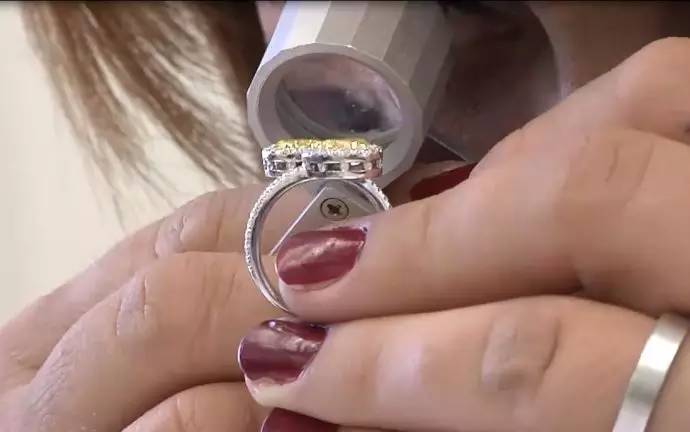
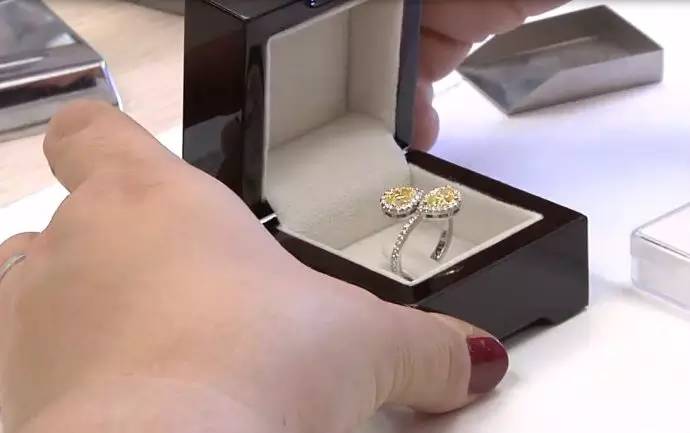
25. Done!
1. Identify customer requirements. Communication between designer and client.

2. Jewelry design generally start hand-drawn drawings, late, the design team will be used as a blueprint for continuous refinement and adjustment.

3. For custom customers, the scan is performed first to obtain accurate dimensions, faceted distribution, and 3D structural data. The designer can easily call the template in the starting stage of CAD, and carry out the design such as stone-removing positioning and virtual assembly.

4. GET READY TO TAKE MEASUREMENTS ON THE GEM

5. Get the specs

6. To create a 3D GEM GEOMETRY

7. USING CAD JEWELRY DESIGN SOFTWARE TO DESIGN THE FIRST EDITION

8. Locate the gem and generate the notches and claws

9. The 3d model designed by CAD can be output to 3d printer, and the wax plate can be printed quickly and accurately.

10. Wax Plate of Wax Sprayer 3D MOLDING

11. Wax Plates for multiple customers at a time

12. Recent Stencil

13. Castings are made by the lost-wax casting process (also known as investment casting) . The picture below shows the preparation of the plaster mold.

14. Hot-baked Plaster Mold.


15. Planting wax tree, will more than customers wax version "seed" on the wax tree, in order to one-time casting out.

16. Wax Trees and molded embryos.


17. Each piece of jewelry is cut out so that it can be processed separately. The diagram below shows a comparison between the casting and the final product

18. The next step is to take the mold and Get the casting ready.


19. Once the mold is finished, the mosaic process is started. It is mainly to fix the main stone and the matching stone on the respective inlay, which is a very important precision working procedure.

20. Mosaic by means of a microscope


21. When the inlay is complete, a final polishing is performed. Make sure the metal surface is as bright as a mirror. Finally, the laser marking equipment is used to engrave the characters at the specified position.


22. ELECTROPLATED JEWELRY

23. Quality inspection-inspection of the workmanship of each jaw and Notch

24. A final examination of the appearance, structure, or surface.

25. Done!

Leave a Reply
Your email address will not be published.Required fields are marked. *