

Industry News
What Tools and Accessories Are Needed to Power Polish Jewelry?
Achieving a dazzling, mirror-like finish on jewelry requires more than just skill—it demands the right tools. Power polishing has transformed how jewelers and hobbyists enhance their creations, delivering efficiency and a superior shine that hand-polishing can’t rival. If you’re ready to elevate your jewelry finishing, here’s a guide to the essential equipment you’ll need.


Why Power Polishing?
Power polishing uses motorized tools and specialized abrasives to smooth and refine metal surfaces, creating a brilliant luster. It’s a game-changer for crafting new pieces or restoring the sparkle of existing jewelry. Here’s why it stands out:- Efficiency: Cuts down polishing time and effort compared to manual methods.
- Superior Shine: Delivers a consistent, professional-grade finish.
- Versatility: Works on various metals and jewelry designs, from intricate details to broad surfaces.
The Polishing Motor: Your Core Tool
At the heart of any power polishing setup is the polishing motor, often referred to as a bench grinder or polishing lathe. This machine powers your polishing wheels, driving the abrasive action.Bench Grinders vs. Polishing Lathes: Single vs. Variable Speed
- Bench Grinders: Versatile but often limited to fixed speeds. For jewelry, where different polishing stages require specific speeds, a dedicated polishing lathe is usually a better choice.
- Polishing Lathes: Designed specifically for polishing, these motors offer precision and flexibility.
- Single-Speed Models: Affordable and straightforward but less versatile. You’ll need to carefully select wheels and compounds to match the fixed speed.
- Variable-Speed Models: Highly recommended for their adaptability. Adjusting revolutions per minute (RPM) lets you tackle everything from aggressive cutting to delicate finishing. Lower speeds suit intricate work and prevent overheating, while higher speeds excel for larger surfaces.
Key Features to Consider
When choosing a polishing motor, focus on these specs:- Horsepower (HP): Opt for 1/4 to 1/2 HP for professional use. Higher horsepower ensures steady torque, preventing slowdowns during heavy polishing.
- RPM Range: Variable-speed models with a range of 1,000 to 7,000 RPM offer maximum control across polishing stages.
- Shaft Size: Check the shaft size (typically 1/2 inch or 5/8 inch) to ensure compatibility with spindles and the polishing wheels or bobs you plan to use.
Safety Tips for Motor Use
Always secure your motor to a sturdy workbench to prevent vibrations. Keep your workspace clear of clutter, and regularly inspect power cords for wear to avoid electrical hazards.Polishing Wheels and Bobs: The Abrasive Workhorses
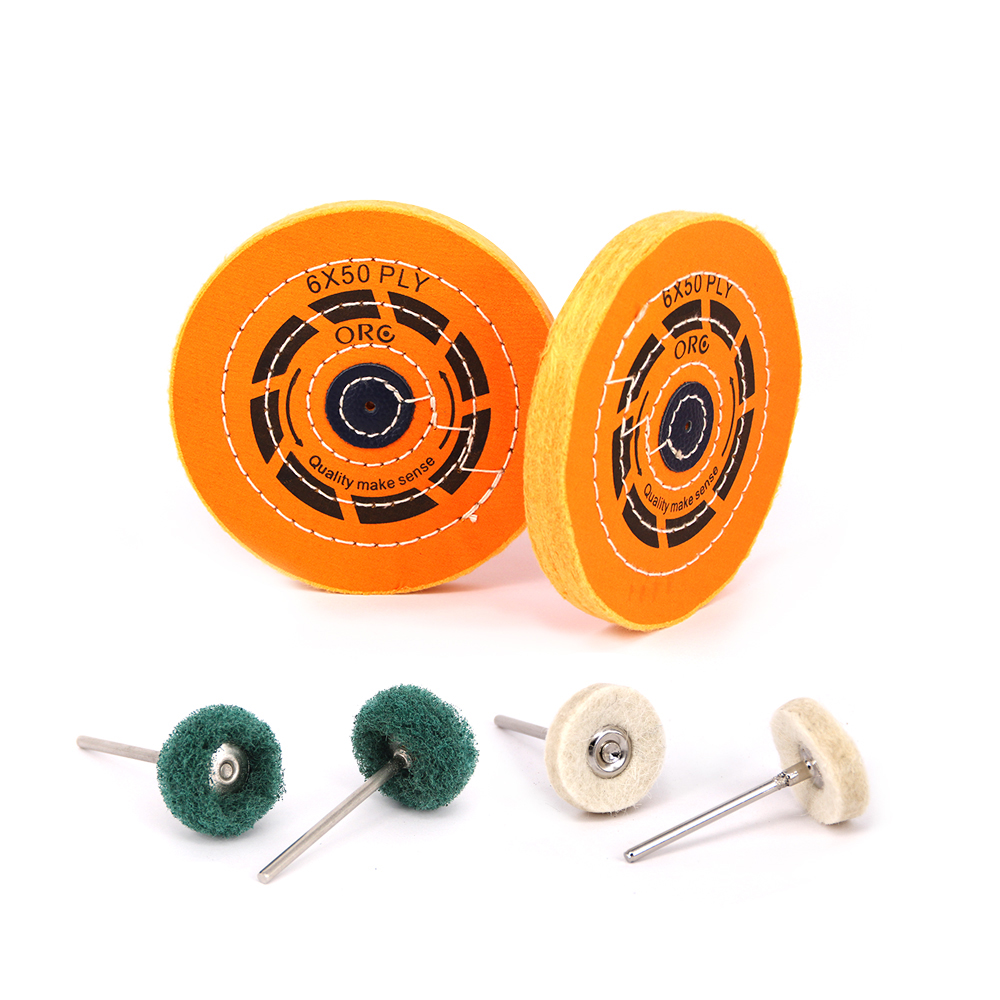
Polishing wheels and bobs are the tools that directly contact your jewelry, applying polishing compounds to smooth and shine the metal. Available in various materials and shapes, each serves a specific purpose in the polishing process.Types of Polishing Wheels
- Cotton Buffs: Versatile and widely used, ideal for general polishing.
- Muslin Wheels: Often stitched for added firmness, perfect for initial cutting and surface preparation.
- Loose Cotton Buffs: Ultra-soft, great for final finishing on delicate pieces.
- Flannel Buffs: Ultra-soft, great for final finishing on delicate pieces.
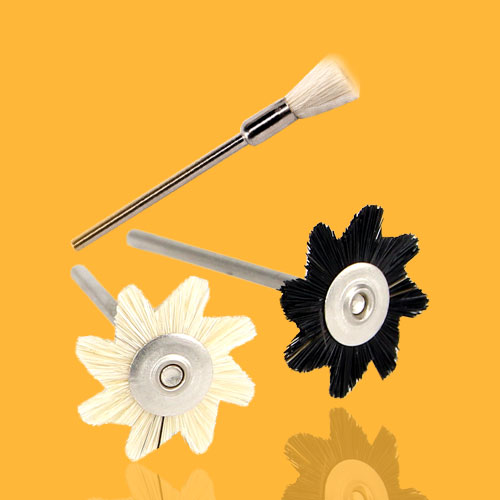
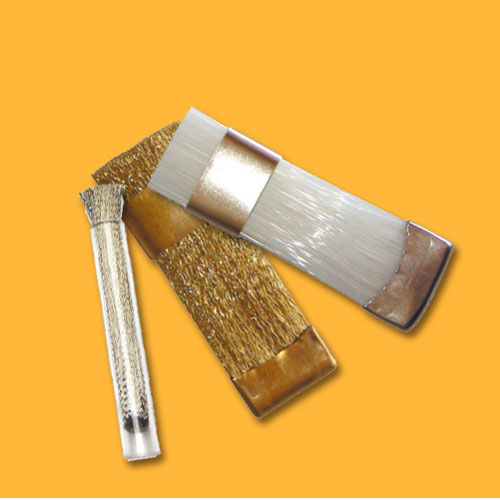
- Felt Bobs and Wheels: Dense and durable, these hold compounds well and excel at precise work, internal surfaces, or hard-to-reach areas. Available in shapes like knives, cylinders, or points.
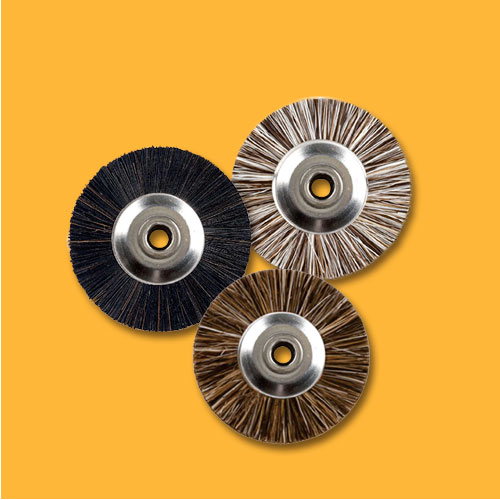
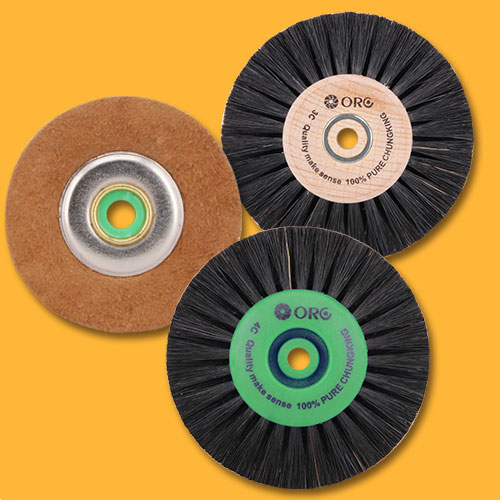
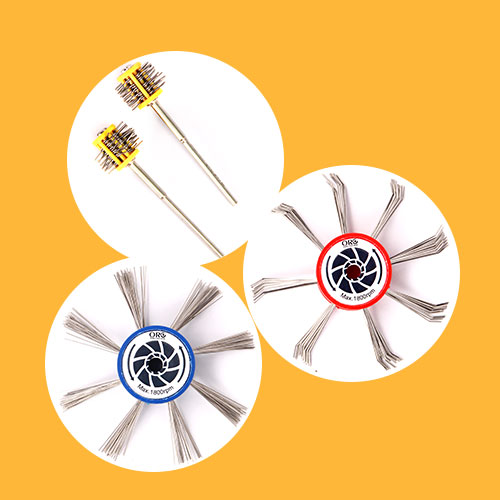
- Bristle Brushes: Used for cleaning or applying coarse compounds, sometimes creating a brushed finish.
- Specialty Buffs: Chamois, leather, or sheepskin buffs offer ultra-fine finishing for specific applications.
Polishing Stages and Materials
Think of polishing like sanding wood, with distinct stages:- Cutting: Uses stiffer wheels (e.g., hard muslin) with coarse compounds to remove scratches and prep surfaces.
- Coloring: Employs softer wheels (e.g., loose cotton) with finer compounds to refine the surface and enhance the metal’s natural shine.
- Finishing: Relies on very soft wheels (e.g., flannel or chamois) with ultra-fine compounds for a mirror-like finish.
Attaching Wheels: Spindles and Mandrels
- Tapered Spindles: These screw onto the motor shaft and feature a tapered end that friction-fits into polishing wheels, allowing quick swaps.
- Straight Spindles (Mandrels): Designed for smaller bobs or brushes, these attach to the motor or flexible shaft handpieces for detailed work.
Polishing Compounds: The Key to Brilliance
Polishing compounds are abrasive pastes or bars that, when applied to a spinning wheel, smooth and polish the metal. Each compound’s grit and composition suit specific metals and polishing stages.Common Polishing Compounds
- Tripoli: A medium-cut, brown compound for removing light scratches and prepping surfaces. Works well on gold, silver, brass, and copper.
- Rouge (Jeweler's Rouge): A very fine abrasive, excellent for achieving a high luster.
- Red Rouge (Jeweler's Rouge): A fine abrasive for high-luster finishes.
- White Rouge: A general-purpose compound for metals like platinum and stainless steel, creating a bright finish.
- Green Rouge: Chromium oxide-based, excellent for hard metals like platinum or stainless steel, producing a bright, bluish luster.
- Zam: A clean, versatile compound for silver, gold, and platinum, safe for soft stones.
- Fabural / Blue: A general-purpose coloring compound for various metals.
Matching Compounds to Metals
- Gold & Silver: Use Tripoli for cutting, followed by Red Rouge or Zam for coloring and finishing.
- Platinum & White Gold: White Rouge, Green Rouge, or Zam work best.
- Brass & Copper: Start with Tripoli, then finish with rouges.
Applying Compounds
Lightly press the compound bar against a spinning wheel for a few seconds to transfer the abrasive. Use sparingly—too much compound creates excess residue, complicating cleanup. Reapply as needed, but avoid overloading the wheel.Safety First: Protective Gear
Power polishing generates fine dust, flying debris, and involves fast-moving machinery, so safety is critical.Essential Protective Gear
- Eye Protection:
- Safety Glasses: Mandatory to shield against debris.
- Face Shields: Offer full-face protection, especially for larger pieces or high-speed work.
- Respiratory Protection:
- Dust Masks (N95 or higher): Prevent inhalation of fine metal and compound dust.
- Respirators: Recommended for extended sessions or hazardous materials, with appropriate filters.
- Gloves: Thin, snug gloves protect hands from residue and minor abrasions. Avoid loose gloves to prevent entanglement.
- Aprons: A leather or canvas apron shields clothing from dust and stains.
Ventilation Systems
A proper ventilation system keeps your workspace safe and clean.- Dust Collectors: Capture airborne particles at the source, protecting your lungs and workspace. Choose models with strong filtration.
- Fume Hoods: Useful if your work involves fumes or vapors, though less common for polishing alone.
Cleanup and Maintenance
Proper cleanup and maintenance ensure your tools last longer and your jewelry shines brighter.Cleaning Polished Jewelry
Polishing leaves compound residue that can dull your jewelry’s shine.- Wipe Down: Use a soft microfiber cloth to remove excess compound.
- Ultrasonic Cleaner: Dislodges microscopic particles from intricate areas using high-frequency sound waves, followed by a rinse.
- Steam Cleaner: Blasts away remaining residue and oils for a sparkling, residue-free finish.
Maintaining Polishing Tools
- Clean Polishing Wheels: Use a wheel rake or stiff wire brush to remove embedded compounds and restore wheel effectiveness.
- Separate Wheels: Store wheels with their designated compounds to prevent cross-contamination.
- Motor Maintenance: Keep the motor dust-free, inspect bearings regularly, and lubricate if recommended by the manufacturer.
- Compound Storage: Store compounds in a cool, dry place away from sunlight.