

Industry News
The Ultimate Guide to Professional Jewelry Polishing
Has your once-sparkling jewelry lost its shine? Are you dreading the cost of a professional jeweler for a simple polish? Or perhaps you’ve thought about DIY polishing but worry about damaging your treasured pieces.
You’re not alone. Many assume jewelry polishing is just a quick buff and shine, but it’s a skilled craft requiring the right tools and know-how. Without proper guidance, it’s easy to make mistakes. That’s why we created this guide.
Whether you’re a jewelry enthusiast restoring heirlooms, a budding jewelry maker refining your skills, an independent designer perfecting your creations, or simply someone eager to master jewelry care, this guide will empower you to achieve professional-grade polishing results at home—safely and efficiently.
Pro Tip: For stubborn scratches, use a crosshatch pattern—polishing vertically, then horizontally—to ensure even removal. Avoid excessive pressure to prevent new grooves.
Pro Tip: Use a dedicated wheel for each compound to avoid cross-contamination, which can compromise the finish.
Pro Tip: For tight corners or detailed designs, switch to a smaller, pointed felt head to reach spots larger wheels miss. Keep the jewelry moving to avoid over-polishing any single area.
Pro Tip: A final wipe with a clean, dry microfiber cloth removes lingering residue and enhances brilliance.
With the right tools and this step-by-step guide, you can transform your tarnished jewelry into dazzling pieces you’re proud to wear. Which piece will you polish first? Let us know in the comments!
You’re not alone. Many assume jewelry polishing is just a quick buff and shine, but it’s a skilled craft requiring the right tools and know-how. Without proper guidance, it’s easy to make mistakes. That’s why we created this guide.
Whether you’re a jewelry enthusiast restoring heirlooms, a budding jewelry maker refining your skills, an independent designer perfecting your creations, or simply someone eager to master jewelry care, this guide will empower you to achieve professional-grade polishing results at home—safely and efficiently.
1. Preparation: Your Jewelry Polishing Toolkit
A mirror-like finish starts with the right tools. Here’s what you need for a professional-grade jewelry polishing kit.Essential Tools
 |
 |
- Polisher/Micromotor: For serious polishing, a powered tool is a must. A micromotor is a versatile, handheld option ideal for beginners and detailed work. For larger projects, a desktop polisher offers greater power and stability. Choose a model with variable speed control to adapt to different materials and polishing stages.
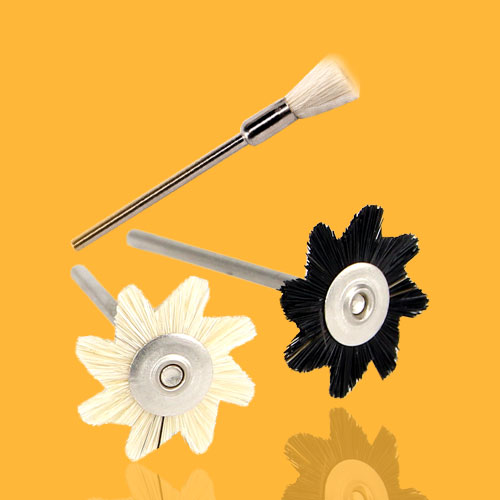
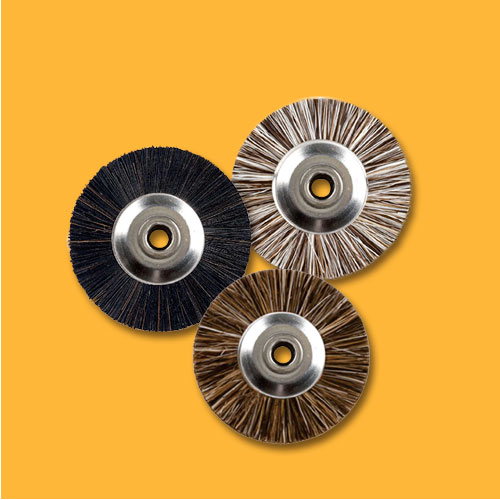
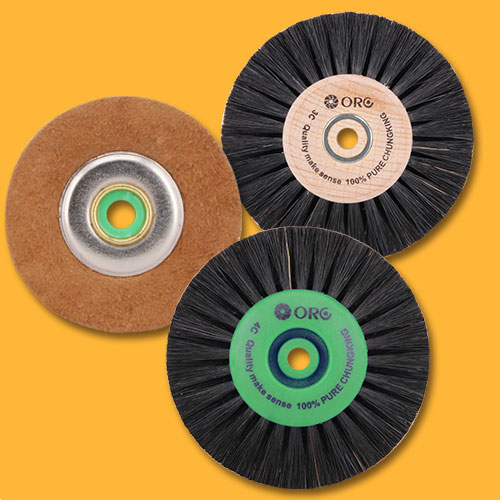
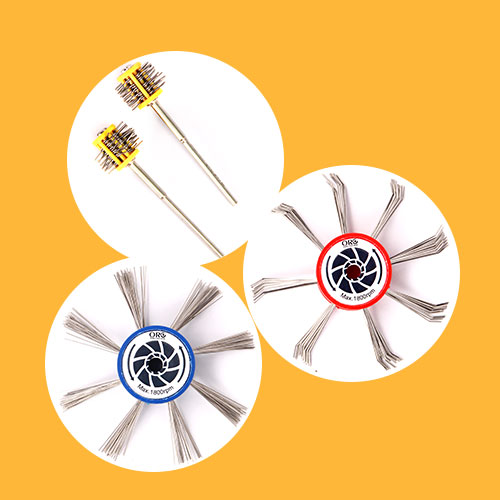
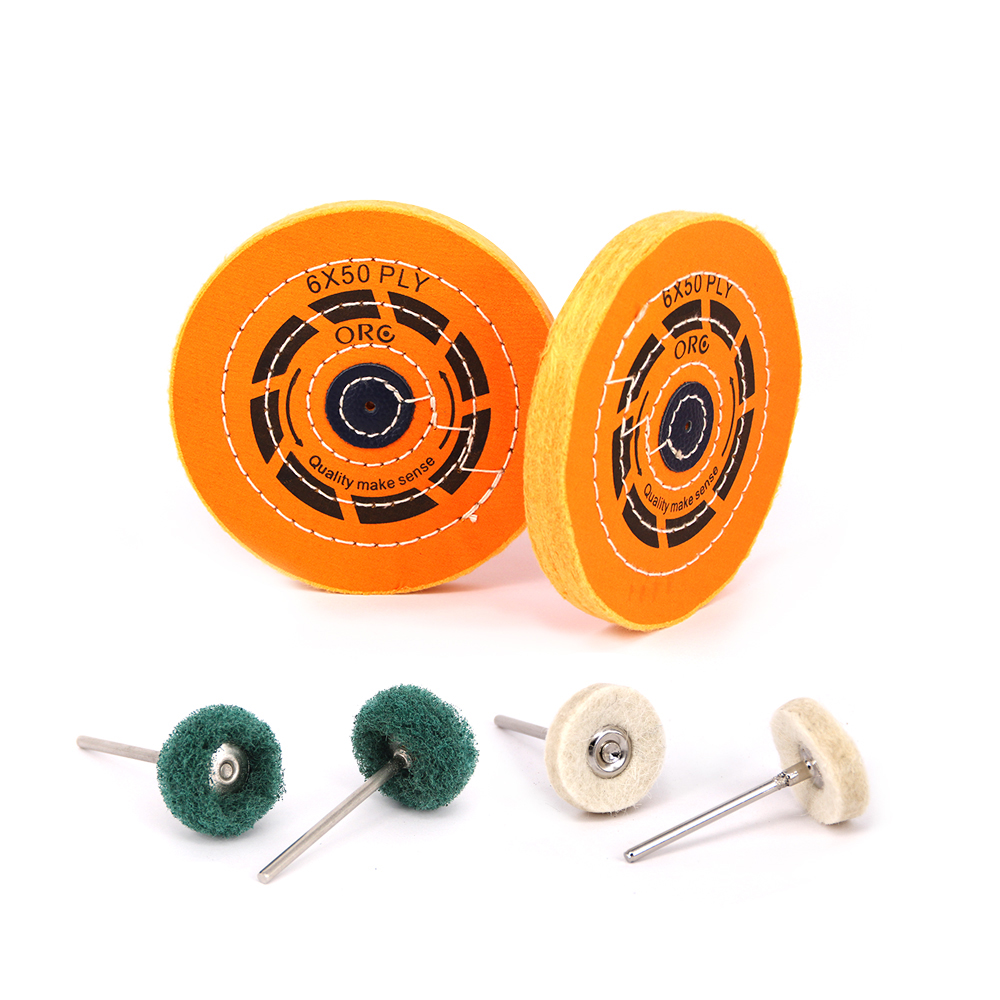
- Polishing Wheels & Heads: Different wheels serve distinct purposes:

- Coarse Wheels: Stiff and durable, perfect for removing deep scratches.
- Felt & Muslin Wheels: The go-to for medium and fine polishing.
- Cotton & Chamois Wheels: Ultra-soft for the final, high-shine jewelry buffing step.
- Polishing Pastes & Compounds: These abrasives are the heart of polishing, available in various grades:

- Coarse Paste (black or gray): For initial grinding and scratch removal.
- Medium Paste (white or blue): Smooths surfaces after coarse polishing.
- Fine Paste/Wax (red, often called jeweler’s rouge or cinnabar): Delivers a brilliant mirror finish.
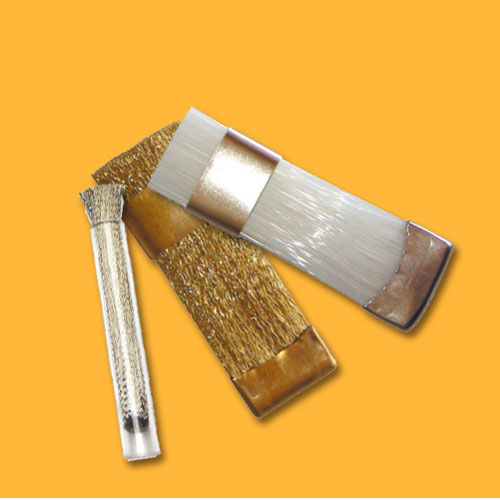
- Cleaning Tools: A soft-bristle brush and jewelry-specific cleaning solution are essential for pre- and post-polishing cleaning. An ultrasonic cleaner is a game-changer for thorough results.
- Safety Gear: Protect yourself with goggles to shield your eyes from debris, a mask to avoid inhaling dust, and gloves to keep your hands clean and prevent oils from transferring to the jewelry. Work in a well-ventilated area to disperse fine particles.


2. The Five-Step Polishing Process
With your jewelry polishing tools ready, follow this five-step process for stunning results.Step 1: Clean and Inspect
Start by examining your jewelry under a magnifying glass for scratches, loose settings, or unsecured gemstones. Clean the piece thoroughly with a soft brush and jewelry cleaning solution to remove dirt and oils. A clean surface prevents new scratches during polishing.Step 2: Rough Polishing (Tackling Deep Scratches)
Address deep scratches with a coarse polishing wheel and coarse paste (black or gray). Securely hold the jewelry and move it steadily against the wheel, applying gentle pressure. Polish each area for 3–5 seconds to avoid overheating, and follow the scratch’s direction for effective removal.Pro Tip: For stubborn scratches, use a crosshatch pattern—polishing vertically, then horizontally—to ensure even removal. Avoid excessive pressure to prevent new grooves.
Step 3: Medium Polishing (Building the Shine)
Switch to a medium-grade paste (white or blue) and a felt or muslin wheel. This step smooths out marks from rough polishing, creating a preliminary shine. Use a back-and-forth motion with steady, light pressure.Pro Tip: Use a dedicated wheel for each compound to avoid cross-contamination, which can compromise the finish.
Step 4: Fine Polishing (Achieving the Mirror Finish)
Now for the magic. Use a soft cotton or chamois wheel with fine polishing paste (red). Work in gentle, quick, circular motions across the entire piece to create a stunning, high-shine finish. Pay special attention to intricate areas.Pro Tip: For tight corners or detailed designs, switch to a smaller, pointed felt head to reach spots larger wheels miss. Keep the jewelry moving to avoid over-polishing any single area.
Step 5: Final Cleaning and Protection
You’re almost there! Remove residual polishing compound with an ultrasonic cleaner or a soft brush and cleaning solution. Dry the piece with a lint-free cloth, like microfiber, for a flawless finish. For added protection, apply a thin layer of protective wax to guard against tarnish.Pro Tip: A final wipe with a clean, dry microfiber cloth removes lingering residue and enhances brilliance.
3. Polishing Guidelines for Special Materials
Different materials require tailored approaches to avoid damage.- Gold & Platinum: These softer metals need light to medium pressure and a fine compound for optimal results.
- Sterling Silver: Prone to tarnish, silver benefits from a silver-specific polishing compound before starting the polishing process.
- Diamond Jewelry: Diamonds are durable, but their settings are delicate. Polish carefully around prongs to avoid loosening stones.
- Soft Gemstones (e.g., Pearl, Turquoise, Opal): Never use a jewelry polishing machine or abrasive compounds on these fragile materials. Clean them with a soft, damp cloth and a non-abrasive jewelry cleaner.
4. Frequently Asked Questions
How do I choose the right polishing wheel?
Match the wheel to the polishing stage: firm felt or bristle wheels for rough polishing, cotton or muslin for medium polishing, and soft chamois or flannel for the final mirror finish. Use a dedicated wheel for each compound to avoid mixing abrasives.Does polishing wear down jewelry?
Done correctly, polishing removes only a microscopic layer of metal. Limit polishing to once or twice a year to minimize wear.Why does my jewelry look cloudy after polishing?
Cloudiness often results from using a compound that’s not fine enough or failing to clean thoroughly after polishing. Residual compound can leave a hazy film.Can I use the same compound for all metals?
While some compounds are versatile, metal-specific compounds (e.g., rouge for gold) yield the best results.With the right tools and this step-by-step guide, you can transform your tarnished jewelry into dazzling pieces you’re proud to wear. Which piece will you polish first? Let us know in the comments!