Welcome to the ultimate guide on mastering jewelry polishing and jewelry sanding. Whether you're a professional jeweler, a passionate hobbyist, or just starting out, achieving a flawless finish is essential for enhancing your jewelry's beauty and value. This guide walks you through essential techniques, tool selection, and material choices—many of which are available at Orobrush, your go-to source for high-quality jewelry polishing and jewelry sanding supplies.
Part 1: Foundations of Jewelry Finishing
1.1 Why Jewelry Polishing and Sanding Matter
Jewelry polishing and jewelry sanding are critical steps in crafting or restoring fine jewelry. Sanding prepares the metal surface by removing scratches, file marks, and casting flaws, creating a smooth base for polishing. Polishing then brings out the metal’s natural shine, boosting both aesthetics and durability. Together, these steps ensure your piece looks stunning and withstands daily wear.
1.2 Essential Tools and Materials
Equip yourself with these must-haves for effective jewelry polishing and sanding.
- Sandpaper: Use varying grits (coarse to ultra-fine) for progressive refinement.
- Sanding Blocks: Ensure even pressure and control during hand sanding.
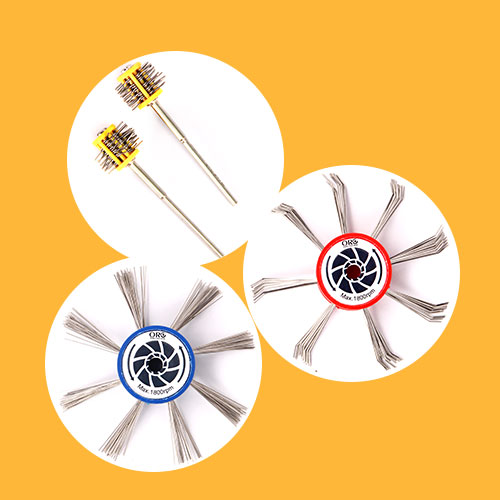
- Rotary Tools: Ideal for detailed work in tight spaces.
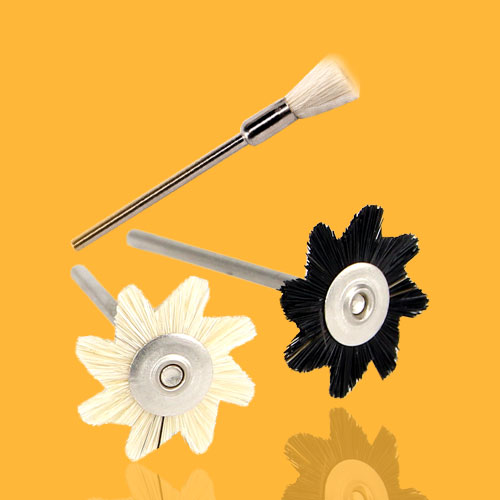
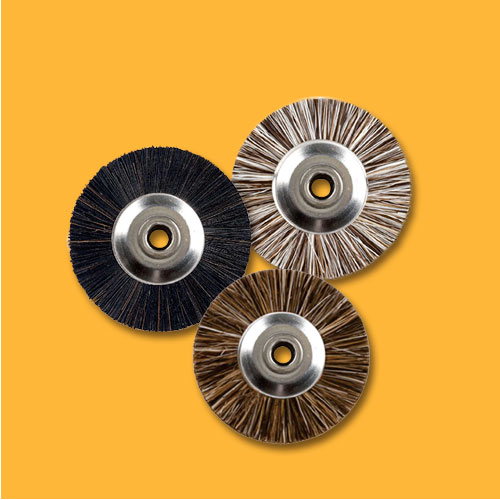
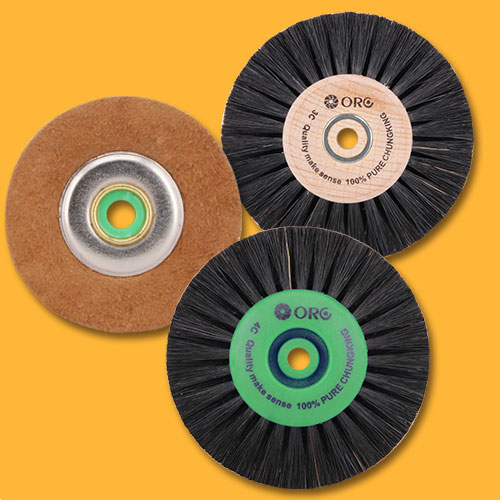
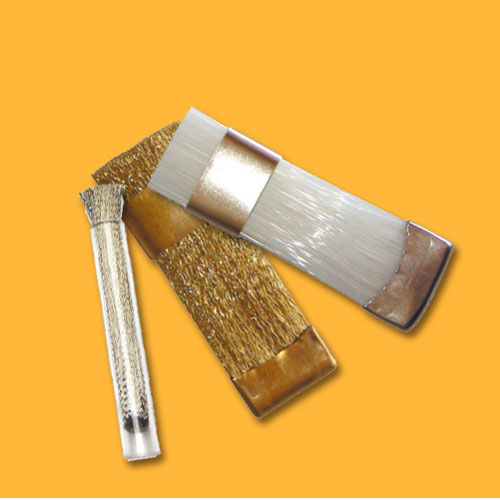
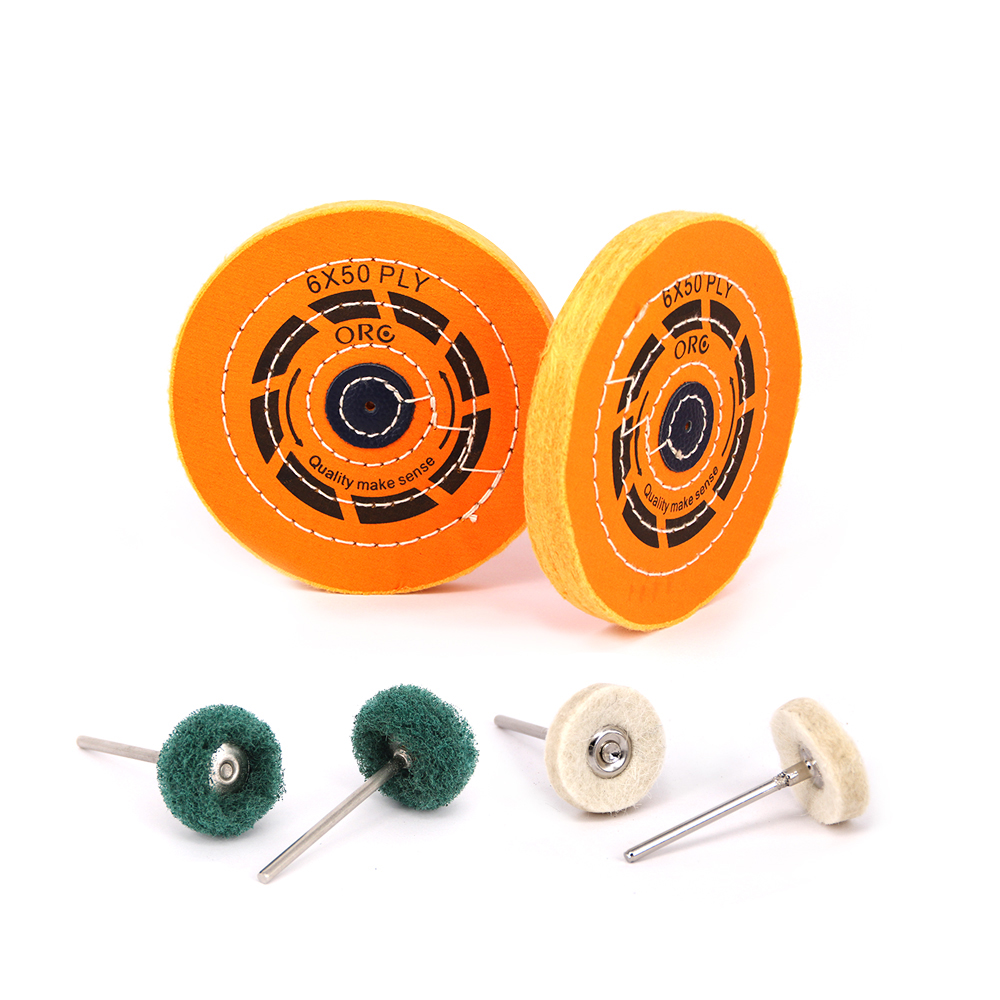
- Polishing Wheels: Choose cotton, felt, or leather buffs paired with compounds for different finishes.
- Polishing Compounds: Match these to your metal type (e.g., red rouge for gold, Tripoli for brass).
- Safety Gear: Gloves, safety glasses, and dust masks are non-negotiable.
1.3 Safety First
Never compromise on safety:
- Wear eye protection to shield against debris.
- Use a respirator to avoid inhaling metal dust.
- Secure your workpiece in a vise to prevent slips.
- Work in a ventilated area to disperse particles.
Part 2: Mastering the Art of Jewelry Sanding
2.1 Selecting and Utilizing the Spectrum of Sandpaper Grits
Effective jewelry sanding relies on a systematic progression through different sandpaper grits. Starting with a coarser grit to remove significant imperfections and gradually moving to finer grits is key to achieving a smooth, polished-ready surface.
| Grit Range |
Main Uses |
Recommended Metal Types |
| Coarse (100–320) |
Initial material removal and deep scratch/casting flaw elimination |
All metals, especially those requiring heavy material removal or with visible defects |
| Medium (400–800) |
Surface refinement and scratch removal after coarser grits |
All metals |
| Fine (1000–2000) |
Preparing a smooth, near-scratch-free surface for polishing |
All metals, particularly those needing a high-gloss finish (e.g., platinum, stainless steel) |
| Ultra-fine (2500+) |
Exceptionally smooth pre-polish finish, ideal for soft metals |
Soft metals (e.g., silver, gold, brass) |
For optimal control and even pressure, wrap your sandpaper around a sanding block. Wet sanding, using water or a lubricant, can minimize dust and prevent sandpaper clogging, especially with finer grits.
2.2 Hand Sanding Techniques
- Pressure: Let the sandpaper do the work—avoid pressing too hard.
- Direction: Sand in one direction per grit, shifting 90 degrees with each finer grit.
- Coverage: Sand evenly, especially around edges and details.
2.3 Mechanical Sanding Tips
- Rotary Tools: Use low speeds for precision.
- Belt Sanders: Best for large, flat surfaces—apply gentle pressure.
- Flex Shafts: Offer flexibility for intricate designs.
2.4 Troubleshooting Sanding Problems
- Deep Scratches: Re-sand with a coarser grit and redo the progression.
- Clogged Paper: Clean frequently or switch to wet sanding.
- Rounded Edges: Lighten pressure near edges to maintain sharpness.
Part 3: Mastering Jewelry Polishing
3.1 Material-Specific Polishing
- Precious Metals (Gold/Silver): Use fine compounds to avoid scratches.
- Base Metals (Brass/Copper): Start with aggressive compounds, then apply sealants.
- Gemstones: Clean gently—never use abrasive compounds on stones.
3.2 Selecting and Pairing the Right Polishing Wheels and Compounds
The synergy between the polishing wheel material and the polishing compound is critical for achieving the desired finish:
| Polishing Wheel Material |
Characteristics |
| Cotton Wheels (e.g., Muslin, Canton Flannel) |
Versatile for general polishing and application of compounds. Varying grades offer adjustable abrasiveness. |
| Felt Wheels |
Dense and rigid, ideal for aggressive initial polishing and intricate detail work. |
| Leather Wheels |
Primarily used for the final high-luster polishing stage. |
| Polishing Compound |
Suitable Metals |
Polishing Stage |
| Tripoli |
All metals |
Initial Polishing |
| Rouge (Red Rouge) |
Gold, Silver |
High-Luster Polishing |
| White Rouge |
Most metals (e.g., brass, copper) |
Fine Polishing |
| Blue Rouge |
Hard metals (e.g., platinum, stainless steel) |
Very Fine Polishing |
| Green Rouge |
Hard metals, chrome |
Fine Polishing (bright finish) |
Apply polishing compound sparingly to the rotating polishing wheel at a low speed.
3.3 Hand Polishing Tips
- Pressure: Light to moderate—let the wheel glide.
- Speed: Keep it steady to avoid overheating.
- Angle: Tilt the piece slightly for even coverage.
3.4 Mechanical Polishing Workflow
- Bench Grinders: Dedicate separate buffs to each compound.
- Rotary Tools: Perfect for small or intricate pieces.
- Post-Polish Care: Remove residue with a soft cloth.
Part 4: Advanced Techniques
4.1 Polishing Complex Shapes
- Polishing Complex Shapes
- Use small buffs and flexible tools for crevices.
- Cut sandpaper into custom shapes for curves.
4.2 Knowing When to Stop
Sanding Done: No visible scratches; surface feels uniformly smooth.
Polishing Done: Mirror-like shine with no swirl marks.

4.3 Tool Maintenance
- Clean buffs with a rake or screwdriver (wear goggles!).
- Store sandpaper in dry conditions.
- Replace worn consumables regularly.
Part 5: Practice Makes Perfect
5.1 Key Takeaways
- Progress through sanding grits methodically.
- Match compounds and wheels to your metal.
- Safety is non-negotiable.
5.2 Case Studies
- Silver Ring Restoration: Medium → fine grits + silver polish.
- Gold Pendant Revival: Red rouge → white rouge for maximum shine.
Learning from experienced jewelers and practicing on various metal samples will significantly enhance your skills.
5.3 The Path to Mastery: Practice and Inquiry
Continuous practice is the cornerstone of mastering jewelry polishing and jewelry sanding. Don't hesitate to experiment with different techniques and materials to discover what yields the best results for your unique projects. If you have any questions about the tools, materials, or techniques discussed in this guide, or need expert advice on selecting the right supplies for your jewelry polishing and jewelry sanding needs, we encourage you to explore the resources and contact the knowledgeable team at Orobrush. We are dedicated to supporting your pursuit of perfectly finished jewelry.