

Industry News
Guide to Dental Polishing Brush Selection
Let's be honest: a great polish is what separates a good restoration from a great one. It's not just about shine—it's about creating a surface that fights plaque, resists stains, and promotes gingival health. But faced with a myriad of choices, selecting the right brush can be a challenge.
Select the wrong tool, and you risk scratching a perfect composite, overheating dentin, or leaving a dull finish that invites trouble. The right choice, however, makes your work faster, safer, and longer-lasting.
This guide cuts through the noise. Think of it as a quick chat about how to match your brush to the job, every time. We'll focus on the three things that really matter: the brush's material, its shape, and how it connects to your handpiece.
Select the wrong tool, and you risk scratching a perfect composite, overheating dentin, or leaving a dull finish that invites trouble. The right choice, however, makes your work faster, safer, and longer-lasting.
This guide cuts through the noise. Think of it as a quick chat about how to match your brush to the job, every time. We'll focus on the three things that really matter: the brush's material, its shape, and how it connects to your handpiece.
I.The Core Three: Material, Shape, and Shank
1. Material: What's It Made Of?
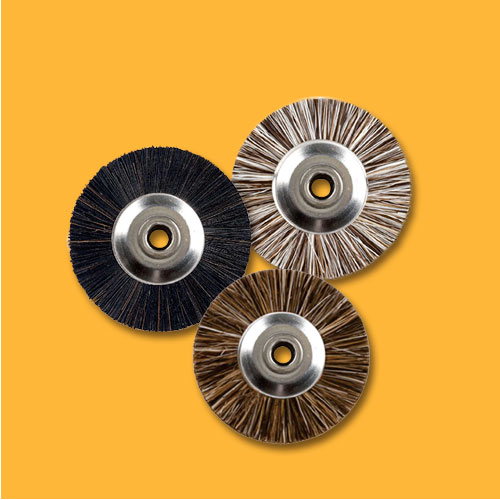
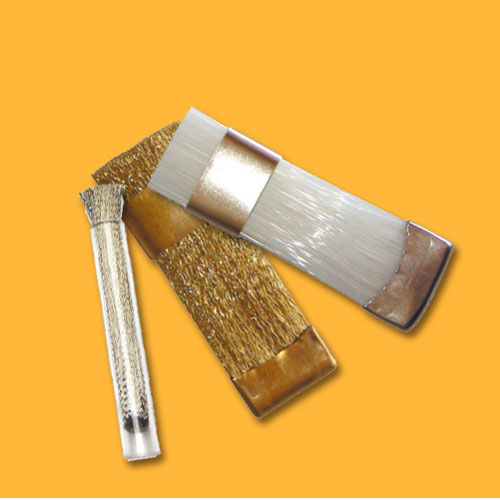
This determines its cutting power.- Go-to All-Rounder: Nylon Brushes. Durable, affordable, and perfect for everyday prophylaxis with a good paste.
- The Gentle Specialist: Natural Bristles. Boar or wool bristles are super soft. A wool brush is my secret for that final, high-gloss shine because it's gentle and holds paste perfectly.
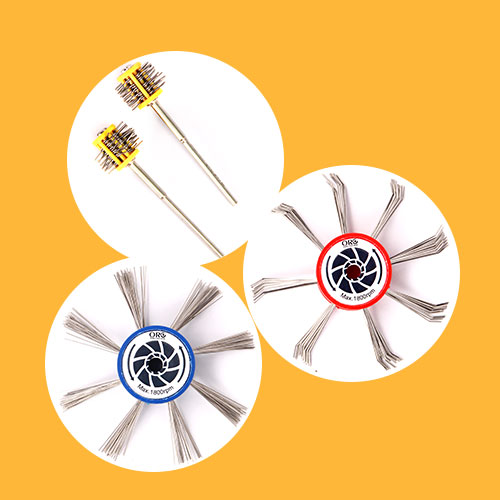
- The Powerhouse: Abrasive-Impregnated Brushes. These have grit like silicon carbide built right in. They're fantastic for reducing paste splatter and streamlining your workflow.
2. Shape: Reaching Every Contour
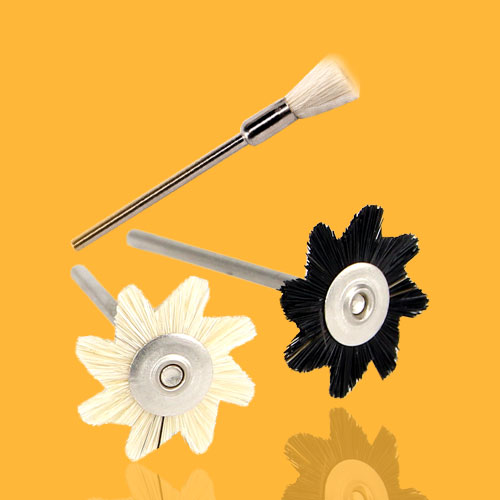
The shape is all about access.- For Broad Surfaces: Cup Brushes. Your best bet for the buccal and lingual surfaces. They cover ground quickly and evenly.
- For Tight Spots: Flame/Pointed Brushes. Non-negotiable for pits, fissures, and those tight proximal embrasures. You can't finish a restoration properly without one.
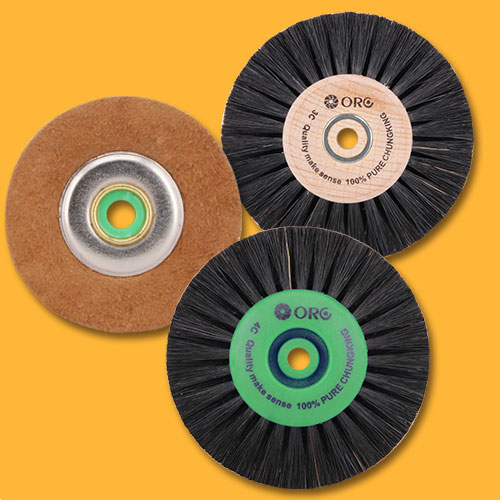
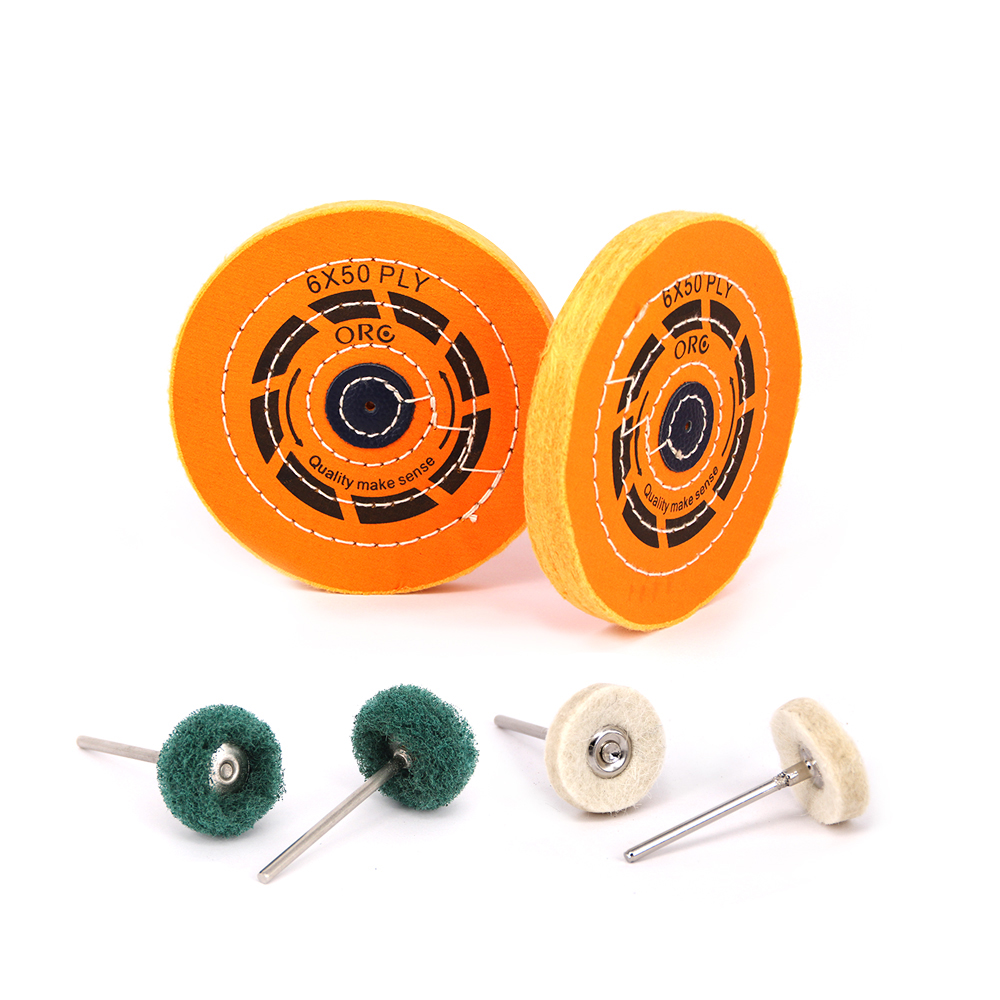
- For the Lab: Wheel Brushes. Mainly used on lab HP handpieces for polishing large, flat surfaces like denture bases.
3. Shank: Making the Connection
This is about simple compatibility.- For Clinical Work: RA (Right-Angle) Shank. This is the standard for intraoral polishing. The angle is essential for reaching posterior teeth.
- For the Bench: HP (Straight) Shank. The lab standard.
- Rarely Used: FG Shank. You might see it for a quick pre-polish contour, but it's not for the actual polishing phase.
II.Matching the Brush to the Task
Here’s how to apply that knowledge chairside.For Routine Prophylaxis
- Goal: Remove stain and plaque safely.
- My Pick: A standard nylon or soft natural bristle brush with a fine-grit paste.
- Pro Tip: Ease up on pressure if you see exposed dentin. The goal is cleaning, not cutting.
For Composite Restorations
- Goal: Achieve an enamel-like gloss that resists staining.
- My Strategy: This is a multi-step sequence. Start coarser and move to finer abrasives. I often finish with flexible, abrasive-impregnated brushes—they follow the anatomy without digging in.
For Ceramic or Zirconia
- Goal: A mirror finish without introducing micro-cracks.
- My Pick: Don't use a standard brush. You need a dedicated ceramic polisher—often diamond-impregnated. They're designed to be effective on these ultra-hard surfaces.
Around Orthodontic Appliances
- Goal: Clean around brackets without breaking the adhesive seal.
- My Pick: A small, pointed brush with soft bristles is perfect for precision cleaning without damaging the bond.
III.Technique: The Make-or-Break Factor
Your technique is as important as the tool itself.1. Control Speed and Pressure
My mantra is low speed and light pressure. High RPMs and heavy hands generate destructive heat. This can pulp a tooth, soften composite, or craze ceramic. Keep the brush moving with intermittent contact.2. Know When to Go Wet or Dry
Wet Polishing: This is your default. The water or paste cools and lubricates, making it essential for most stages. Dry Polishing: Reserve this only for the final, super-fine glossing step on composite, and even then, use a feather-light touch for mere seconds.3. Never Skip a Step
A perfect gloss is built progressively. You must use a sequence of progressively finer abrasives to remove the scratches left by the previous step. Rely on the manufacturer's color-coding system to guide you.IV.Your Quick Chairside Checklist
Before you start, run through this:- For the Task: Material -> Shape -> Shank. Have you got the right combo?
- For the Handpiece: Slow speed, light pressure. Is your foot off the pedal?
- For the Surface: Is it wet? Are you using a sequential protocol?