

Industry News
A Beginner's Guide to Dental Polishing Tools
In dental practice, a well-polished restoration is vital for clinical success. Polishing isn't just about creating a shiny surface; smooth, glossy restorations resist plaque buildup, improve patient comfort, and last longer.
This guide focuses on dental polishing tools, detailing the essential tools, standard steps, and common errors to efficiently achieve professional, flawless restoration polishing.
This guide focuses on dental polishing tools, detailing the essential tools, standard steps, and common errors to efficiently achieve professional, flawless restoration polishing.
I. Basic Knowledge of Dental Polishing Tools
Effective polishing is a multi-step process, with each stage requiring specific tools tailored to its purpose.A. Why Do You Need Different Tools
Polishing follows a progressive, coarse-to-fine sequence. Begin with coarse-grit tools to shape the restoration and remove major irregularities (known as finishing). Then, use finer tools to smooth out microscopic scratches, achieving a mirror-like finish. Starting with a fine-grit tool on a rough surface is ineffective, and skipping steps leads to a dull, subpar result.B. Basic Tool List
Understanding the role of each tool is the foundation of effective polishing. Below is a breakdown of the primary dental polishing tools:| Tool Type | Function Description | Beginner Focus |
| Connecting Instruments | ||
| Low-Speed Handpieces | Power source for most finishing and polishing tasks. | Always verify the speed setting to avoid excessive heat. |
| Mandrels | Secure polishing heads (discs, wheels, etc.) to the handpiece. | Ensure the head is firmly locked before starting. |
| Consumable Polishing Heads | ||
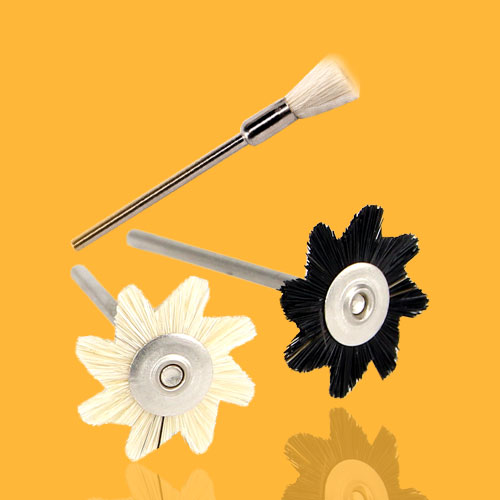
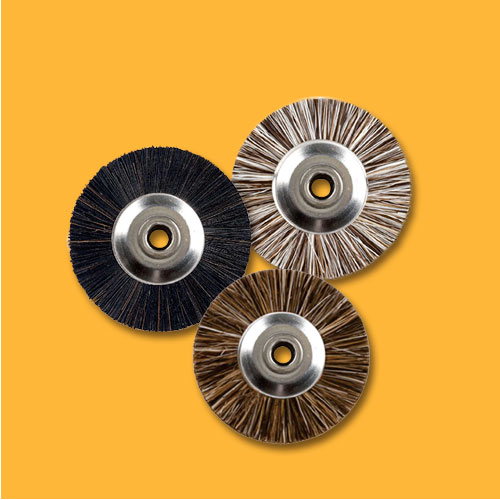
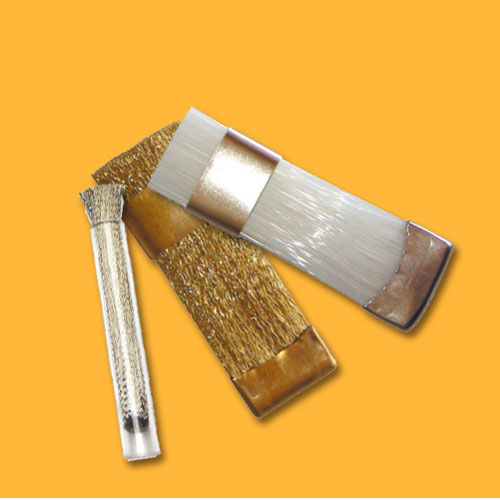
| Polishing Brushes | Apply polishing paste to grooves for a glossy finish. | Ideal for hard-to-reach areas; use with paste for best results. |
| Polishing Cups & Points | Flexible silicone or rubber tips for shaping occlusal surfaces. | Perfect for refining the anatomy of restorations. |
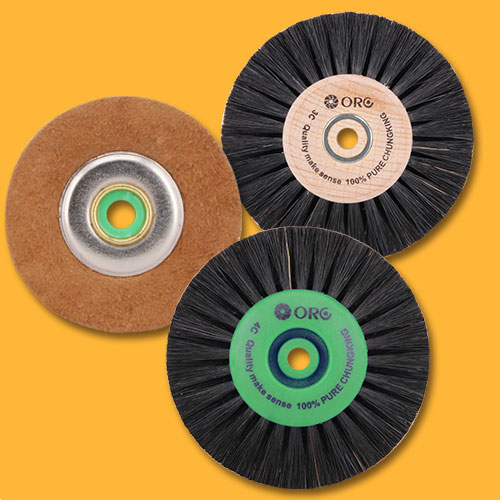
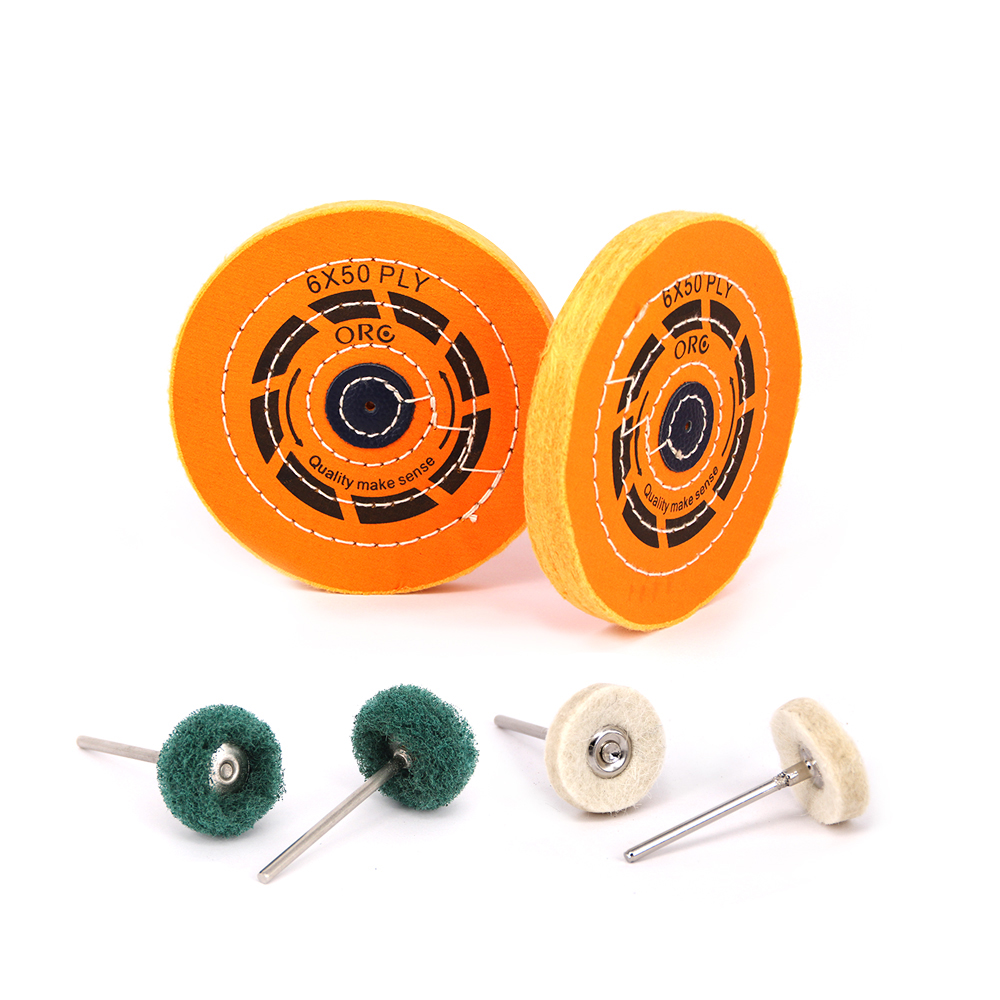
| Polishing Wheels | Felt, cotton, or fabric wheels for polishing large surfaces. | Essential for achieving a final high-shine finish. |
| Polishing Discs | Thin, abrasive-coated discs for smoothing interproximal surfaces. | Crucial for creating smooth contact points between teeth. |
C. Color Codes and Abrasive Grit
Color coding helps beginners quickly identify the grit of polishing tools like silicone points or discs:- Dark Colors (e.g., Black, Brown): Coarse grit for initial contouring and gross reduction.
- Medium Colors (e.g., Green, Blue): Medium grit for smoothing and removing heavy scratches.
- Light/Fine (e.g., Pink, White): Fine grit for pre-polishing and achieving a high-shine finish.
II. How to choose the right tool
A. Core Principle: Material Compatibility
Always match the polishing tool to the restoration material. Using an aggressive tool designed for metal on a soft composite resin can create deep grooves, compromising the restoration’s integrity. Verify tool compatibility to ensure optimal results.B. Recommended Common Repair Materials and Tools
| Restorative Material | Tool Recommendation Strategy | Beginner's Tip |
| Composite Resin | Coarse silicone tips or discs, medium-grit cups, fine felt wheels or brushes. | Use flexible discs to preserve the tooth’s natural curvature. |
| Glass Ionomer | Soft, low-abrasive rubber cups or points to minimize frictional heat. | Avoid aggressive burs or dry heat, as glass ionomers are heat-sensitive. |
| Temporary Crowns/PMMA | Gentle polishing tools to prevent scratching or melting acrylic surfaces. | Apply more pressure but use lower speed than for composites. |
C. Application of Polishing Pastes
Polishing pastes are micro-abrasive compounds that deliver a glossy finish when used with polishing brushes or cups. Common agents include diamond paste (for ceramics/porcelain) and aluminum oxide paste (for metals and composites). Apply a small amount of paste to a clean brush or wheel and work it gently across the surface at low speed.III. Beginner's Practical Operational Guide
A. Safety Operation Standards
The primary risk in polishing is heat generation, which can damage the tooth’s pulp or the restoration. Follow these safety practices:- Speed Control: Use low-speed settings and minimal torque. High speeds generate heat, risking irreversible damage.
- Pressure Techniques: Apply light, intermittent pressure for one to two seconds, then lift and reposition. Avoid continuous or heavy pressure to prevent overheating.
B. Standard Three-Step Protocol
This universal sequence applies to most restoration materials:- Contouring & Finishing: Shape the restoration, remove excess material, and define its anatomy using coarse-grit tools (e.g., dark-colored silicone points or diamond burs).
- Smoothing: Eliminate visible scratches with medium-grit tools (e.g., silicone cups or points) until the surface appears uniformly dull but free of deep grooves.
- High-Shine Polishing: Achieve a glossy finish using fine polishing tips (e.g., felt wheels or goat hair brushes) with the appropriate polishing paste.
C. Tool Cleaning and Maintenance
After use, carefully remove consumable polishing tools from the mandrel. Follow clinical protocols for cleaning and disinfecting to ensure infection control and extend tool lifespan. Regularly inspect tools for wear and replace them as needed.IV. Common Errors and Solutions
A. Mandatory Errors to Avoid
- Skipping Steps: Rushing past the smoothing phase or jumping to fine polishing results in scratches or a dull finish.
- Excessive Pressure or Speed: This generates heat, risking pulp damage or restoration failure.
- Mismatched Tools: Using tools incompatible with the material can cause grooves or uneven surfaces.
B. Correction of Unsatisfactory Polishing
- Problem: Surface Scratches
Cause: Likely due to skipping the smoothing step or insufficient time with medium-grit tools.
Solution: Return to a medium-grit tool and smooth the surface thoroughly before resuming the final polish. - Problem: Dull Surface
Cause: Insufficient polishing paste or failure to complete the final polishing step.
Solution: Use a clean brush or wheel with adequate high-shine paste and polish at low speed.