

Industry News
7 Key Tips to Avoid Common Errors in Gold Ring Polishing
Gold is soft, highly malleable, and expensive. Polishing errors lead not only to uneven, hazy mirror finishes but also to irreversible precious metal loss and ruined design contours. Achieving a showroom-grade finish is not about applying brute force or scrubbing metal against a buff. High-end gold ring polishing is a precise, systematic process that demands strict control over material removal rates, frictional heat generation, and tool selection.
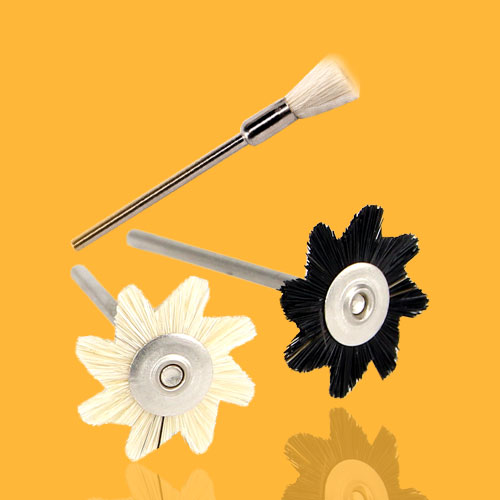
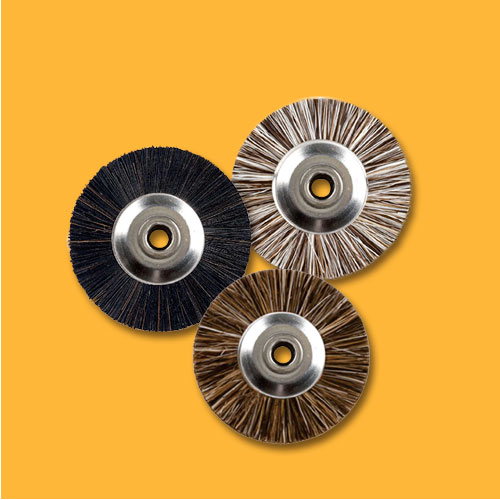
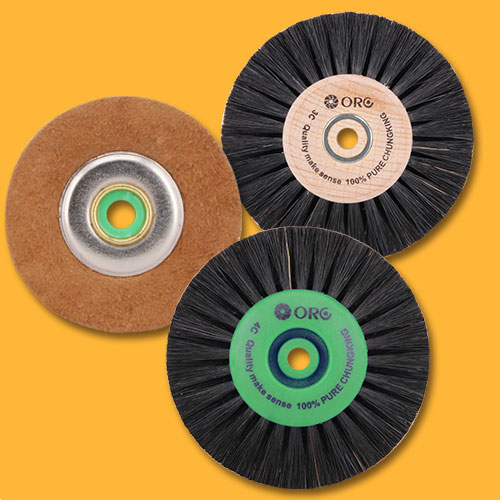
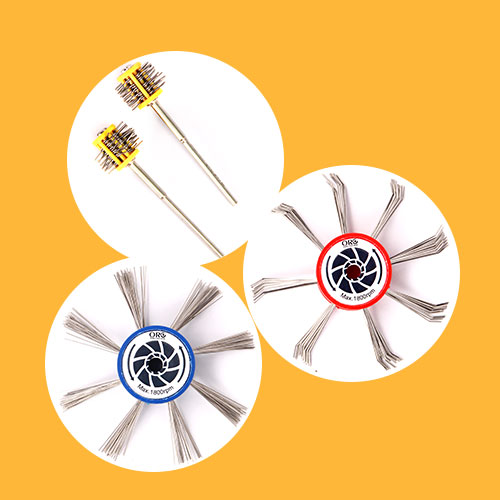
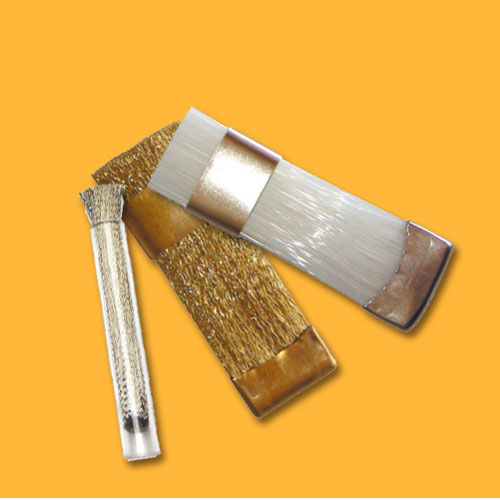
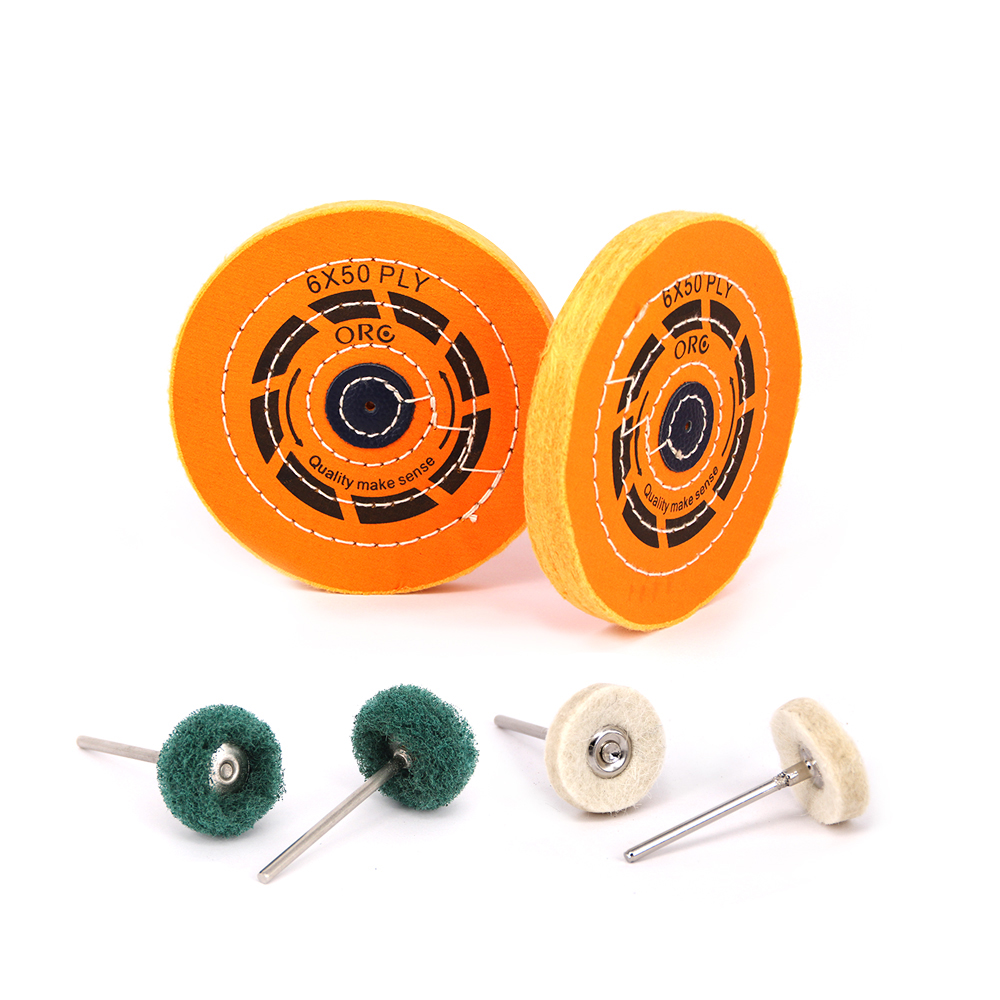
Professional workshops should enforce clear Standard Operating Procedures (SOPs), separate dirty cutting stations from clean finishing zones, and monitor consumable wear to keep loss rates predictable. As a dedicated ring polishing consumables manufacturer and supplier, Orobrush provides specialized buffing wheels, miniature bristle brushes, and mounted felt points tailored for bulk wholesale and custom industrial workshop setups.
I. 7 Key Tips and Pitfall Avoidance Guide
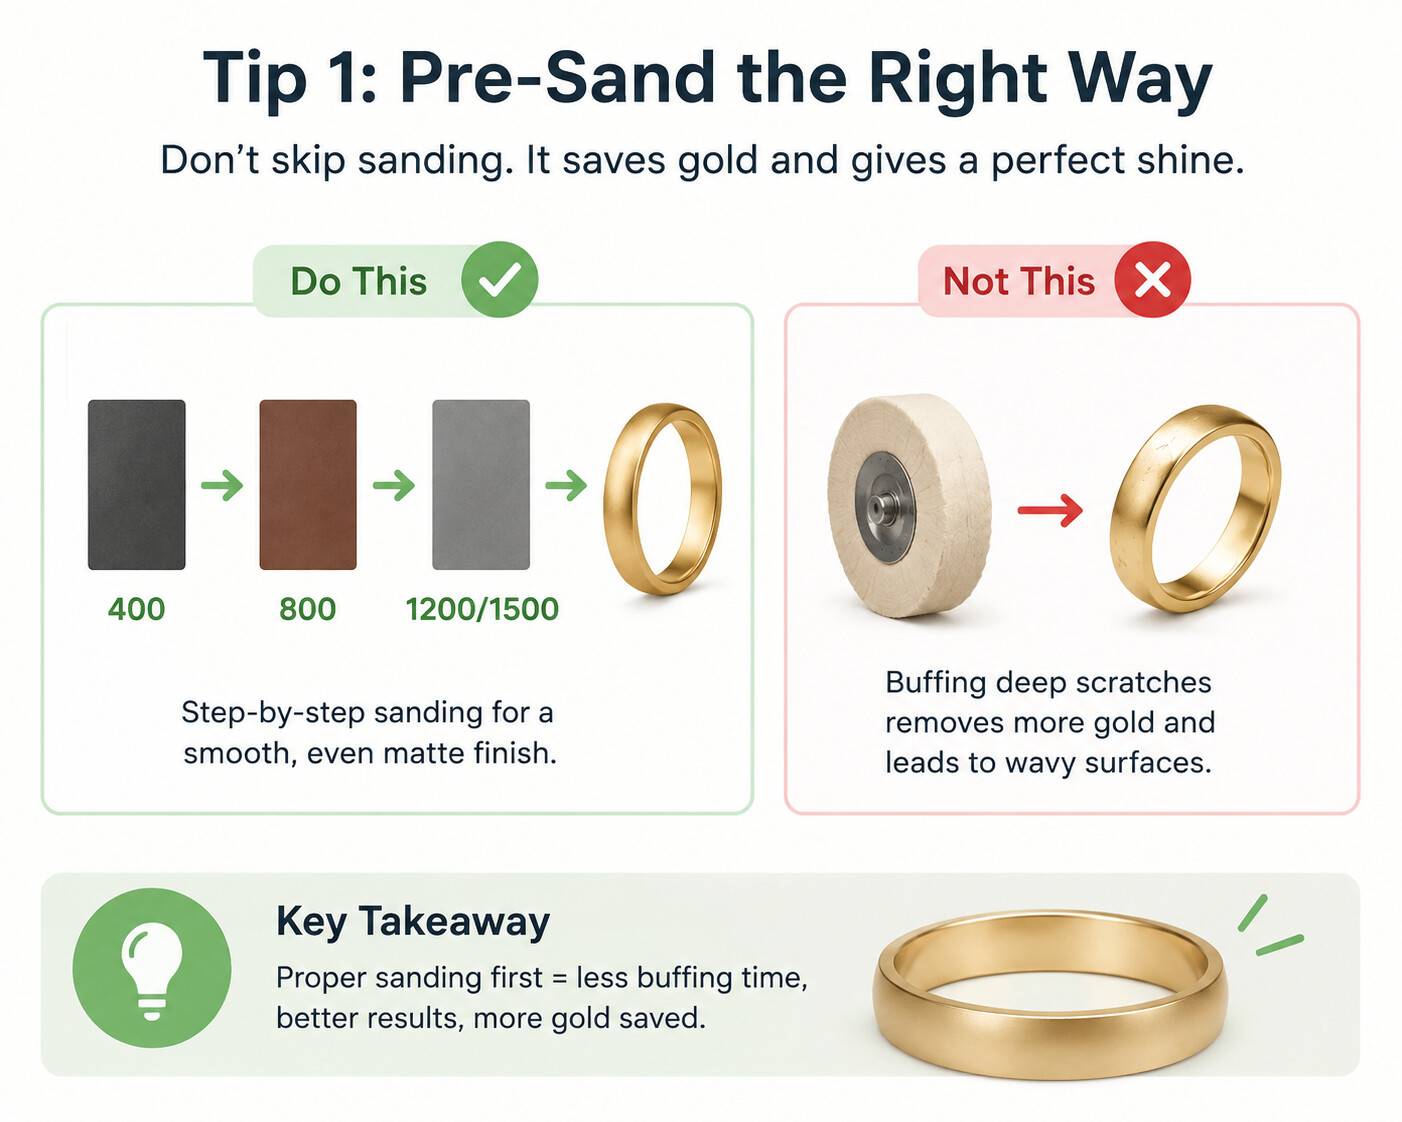
Tip 1: Complete Pre-Sanding Strictly by Grit Sequence—Do Not Substitute Sanding with Polishing

- Common Error: Jumping straight to a high-speed buffing wheel with coarse compound while casting porosity, seam lines, or deep file marks are still visible. Trying to "buff out" deep defects cuts away excess gold and creates wavy surfaces.
- Key to Avoiding Pitfalls:
- Execute a disciplined sanding ladder (400 → 800 → 1200/1500 grit) using abrasive paper, ceramic sticks, or silicone polishers before introducing buffing compounds.
- Ensure the ring surface displays an ultra-fine, uniform matte finish with unidirectional micro-scratches. This reduces buff contact time to seconds, preserving precious metal weight.
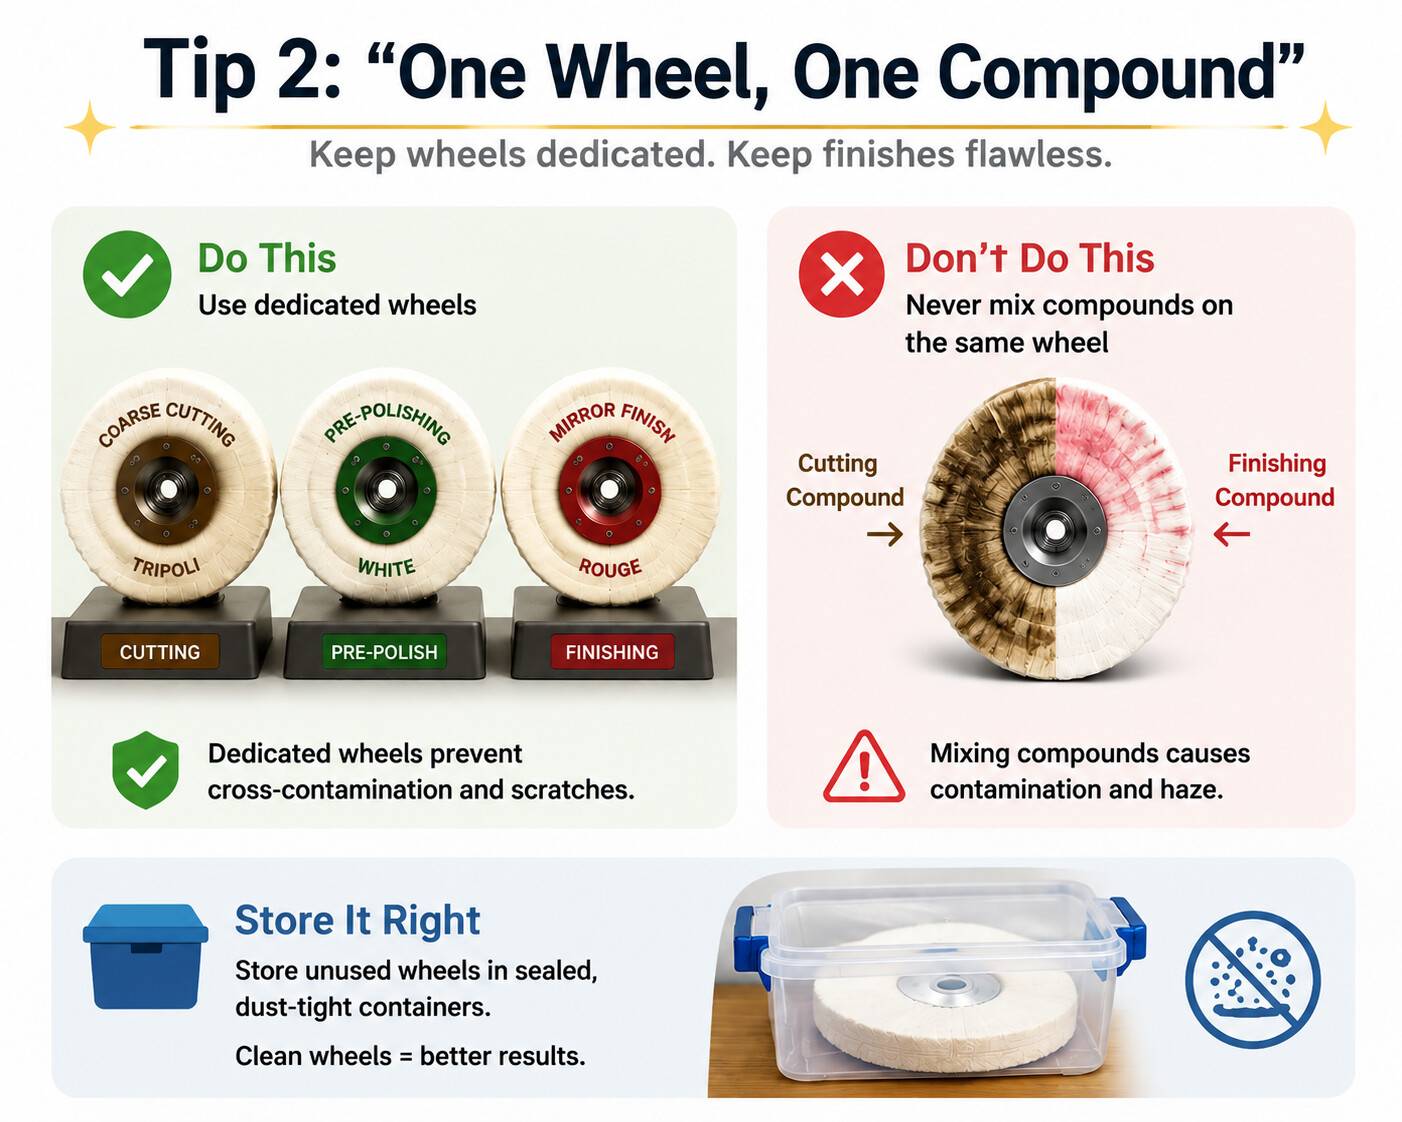
Tip 2: Adhere to the "One Wheel, One Compound" Rule to Prevent Cross-Contamination

- Common Error: Loading both aggressive cutting compounds (like Tripoli or brown bar) and final coloring compounds (like Rouge or Dialux Blue) onto the same buffing wheel.
- Key to Avoiding Pitfalls:
- Dedicate individual wheels exclusively to coarse cutting, intermediate pre-polishing, and final mirror finishing. Label the core or flange of each wheel clearly.
- Store unused buffs in sealed, dust-tight containers. Airborne bench debris and floating abrasive grits settling on a final coloring buff will drag secondary micro-scratches across polished gold.
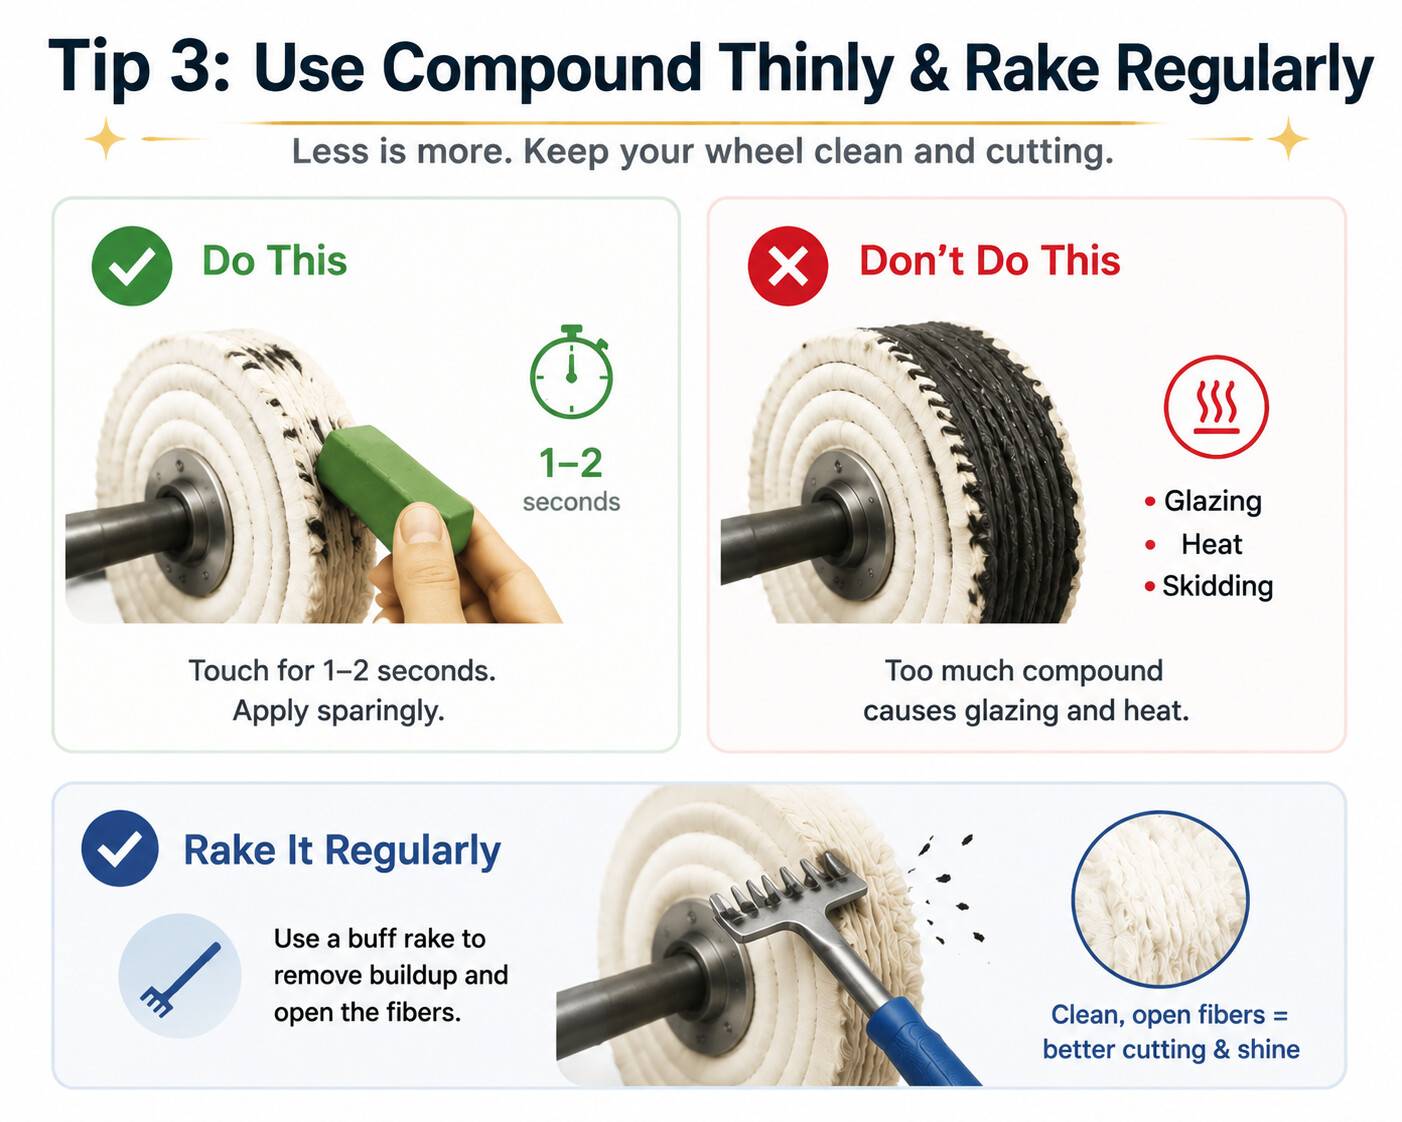
Tip 3: Apply Compound Thinly and Sparingly, and Rake Buffs Regularly

- Common Error: Overloading the wheel with thick layers of compound under the false assumption that more wax equals a faster shine. Excess wax cakes the fabric, turns black, glazes over, and causes the wheel to skid rather than cut.
- Key to Avoiding Pitfalls:
- Dress rotating wheels by touching the compound bar against the fabric for just 1 to 2 seconds. Apply sparingly and reapply often.
- Periodically run a metal buff rake across the spinning wheel to strip away hardened compound residue, open compacted fibers, and maintain a soft, active cutting face.
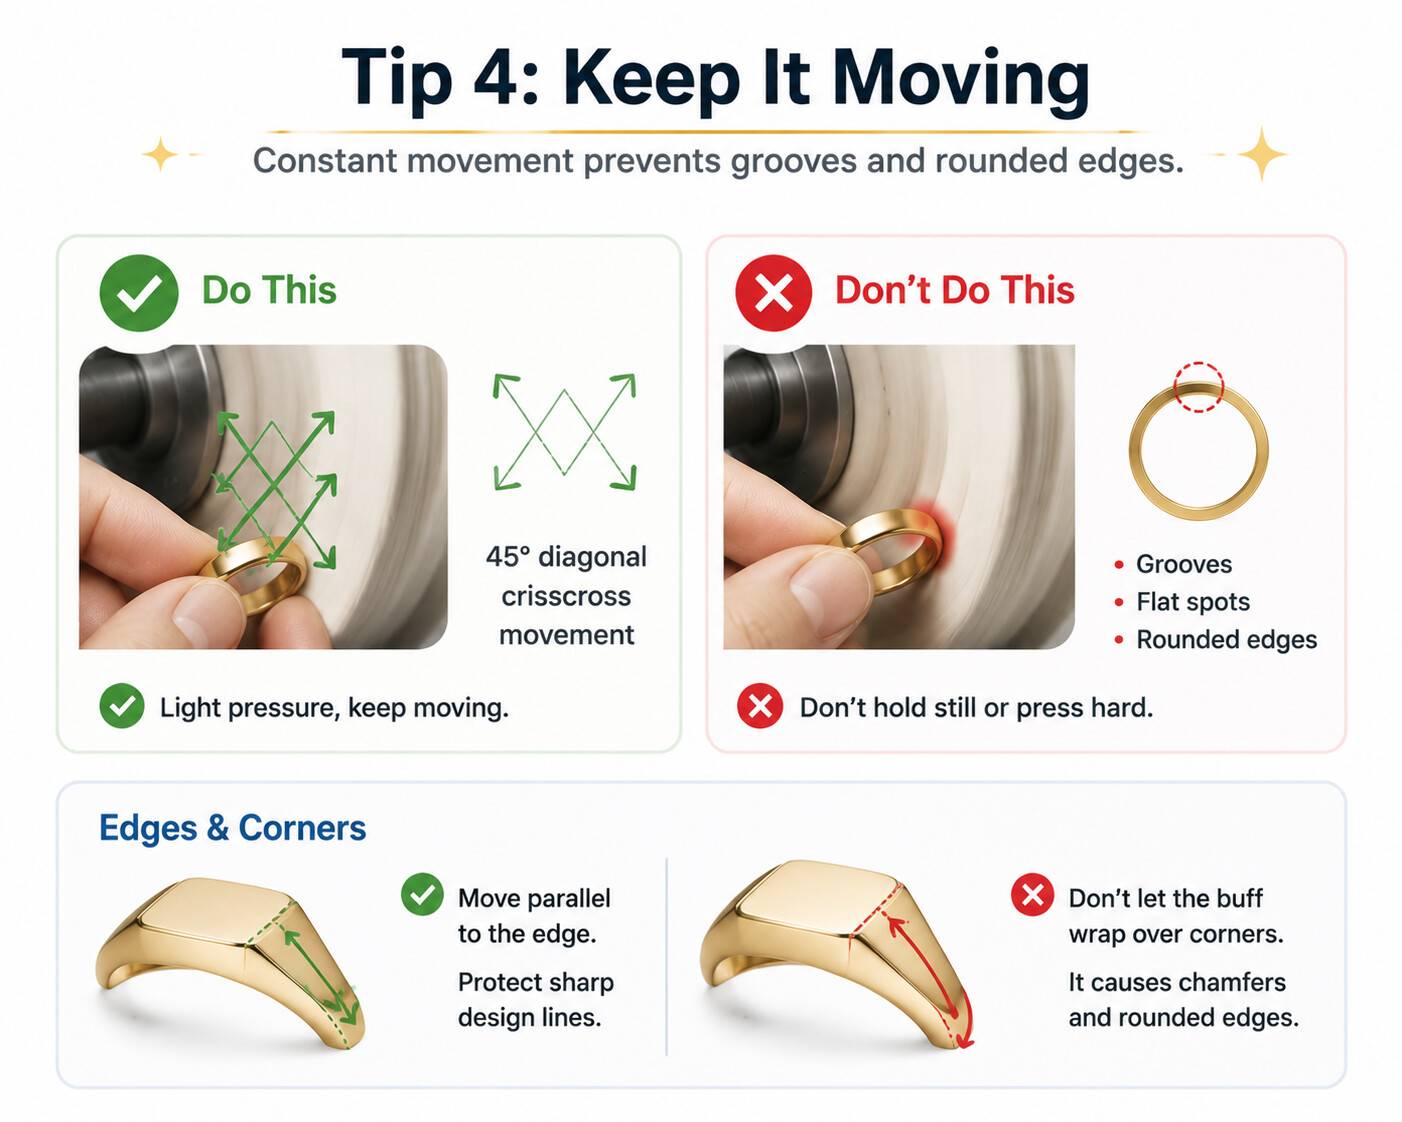
Tip 4: Maintain Dynamic Movement to Prevent Localized Grooving and Rounded Edges

- Common Error: Holding a ring stationary against the wheel or applying heavy pinpoint pressure to remove a persistent scratch. This creates flat spots, alters wall thickness, throws the shank out-of-round, and blunts crisp bezel lines.
- Key to Avoiding Pitfalls:
- Keep the workpiece constantly moving across the wheel face using a light-pressure, 45-degree diagonal crisscross pattern.
- When polishing signet faces or angular shanks, traverse parallel along the edge rather than letting the buff wrap perpendicularly over the corner, which rapidly chamfers crisp design geometry.
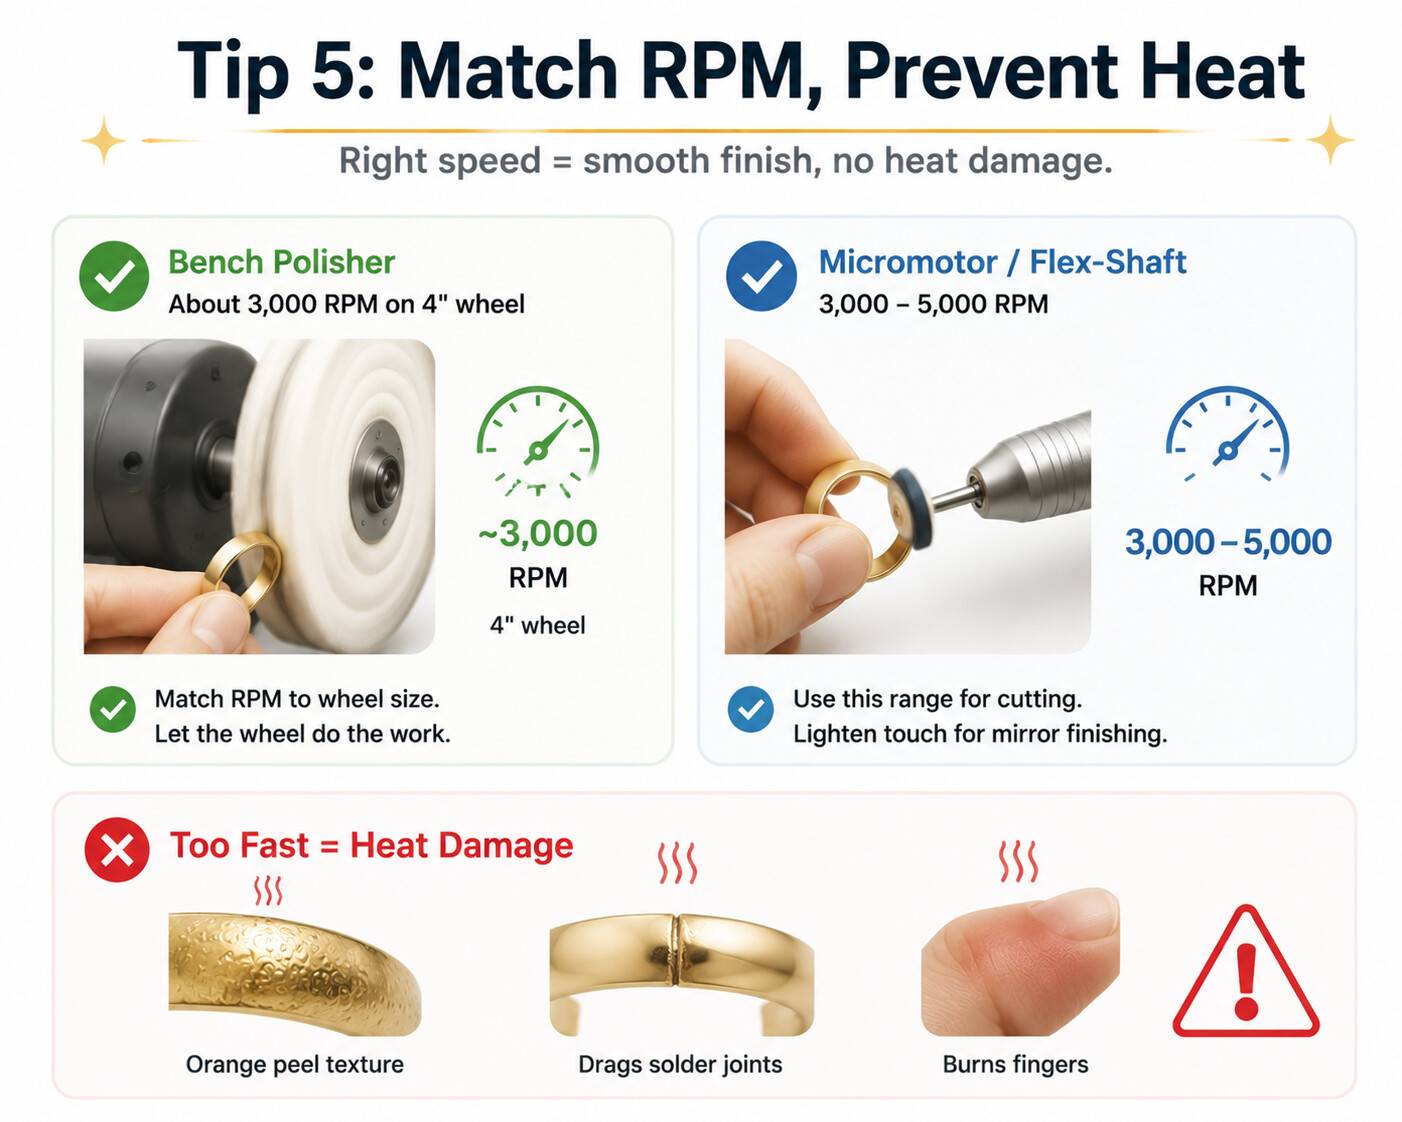
Tip 5: Precisely Match Equipment RPM to Prevent Thermal Distortion

- Common Error: Running rotary motors or bench lathes at excessive speeds, generating rapid frictional heat that causes gold surfaces to develop "orange peel" textures, drags solder joints, and burns fingers.
- Key to Avoiding Pitfalls:
- Tailor your RPM to the tool format. For bench polishers, match wheel diameter to surface speed ( 3,000 RPM on a 4-inch buff yields substantial peripheral velocity).
- When utilizing a micromotor or flex-shaft handpiece, operate between 3,000 and 5,000 RPM during rough cutting stages. For mirror coloring, let peripheral wheel speed do the work while lightening your touch to prevent localized heat buildup.
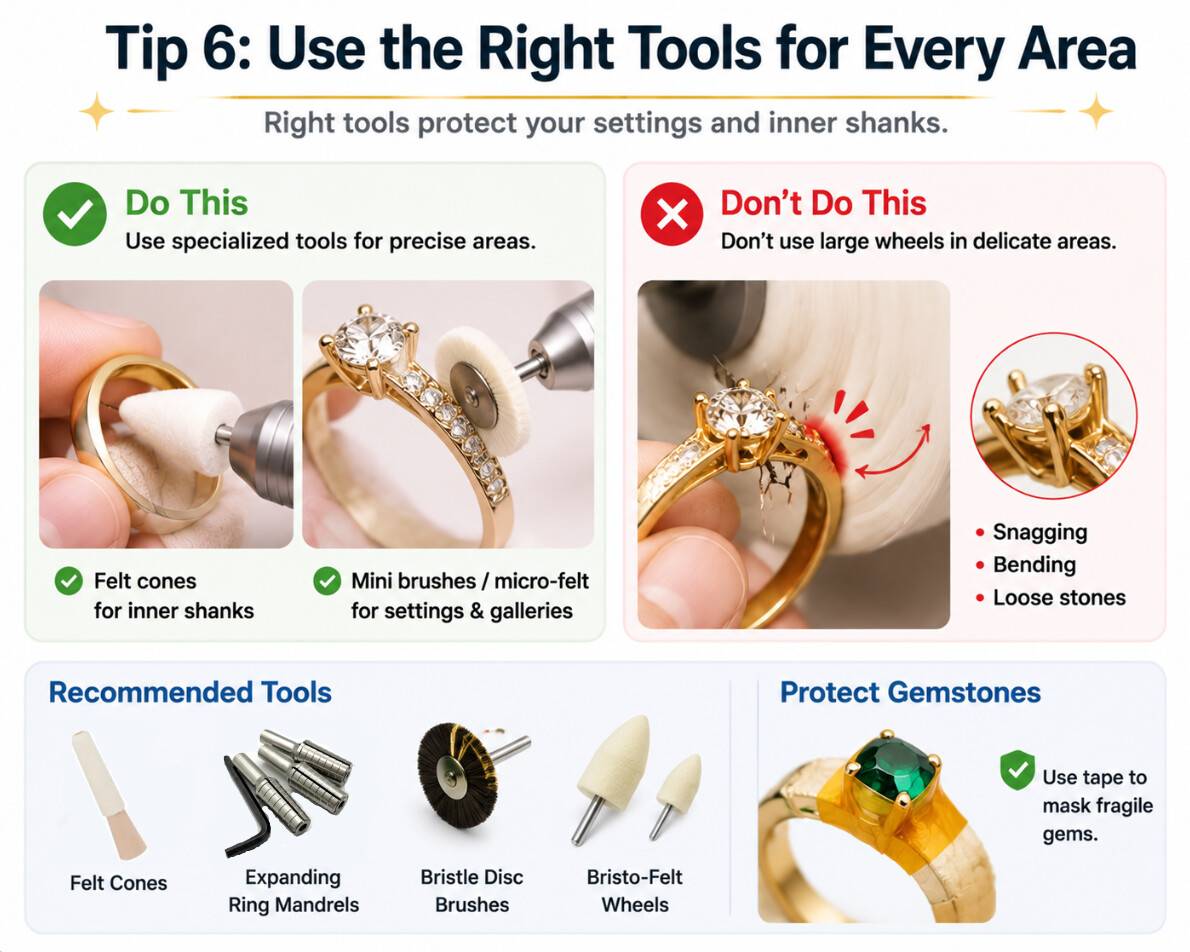
Tip 6: Deploy Specialized Consumables for Settings and Inner Shanks

- Common Error: Forcing standard 4-inch muslin wheels into prong clusters or gallery wire. Loose threads instantly snag prongs, twisting them out of alignment, loosening center stones, or ripping the workpiece from your hands.
- Key to Avoiding Pitfalls:
- Clean and smooth the inside of the ring shank using solid felt cones, expanding ring mandrels, or split sanding mandrels.
- For delicate prong seats and pavé galleries, switch to miniature natural bristle disc brushes or micro-felt wheels on a rotary handpiece. Mask fragile gems (like emeralds, opals, or pearls) with high-temperature polyimide tape before polishing adjacent metal.
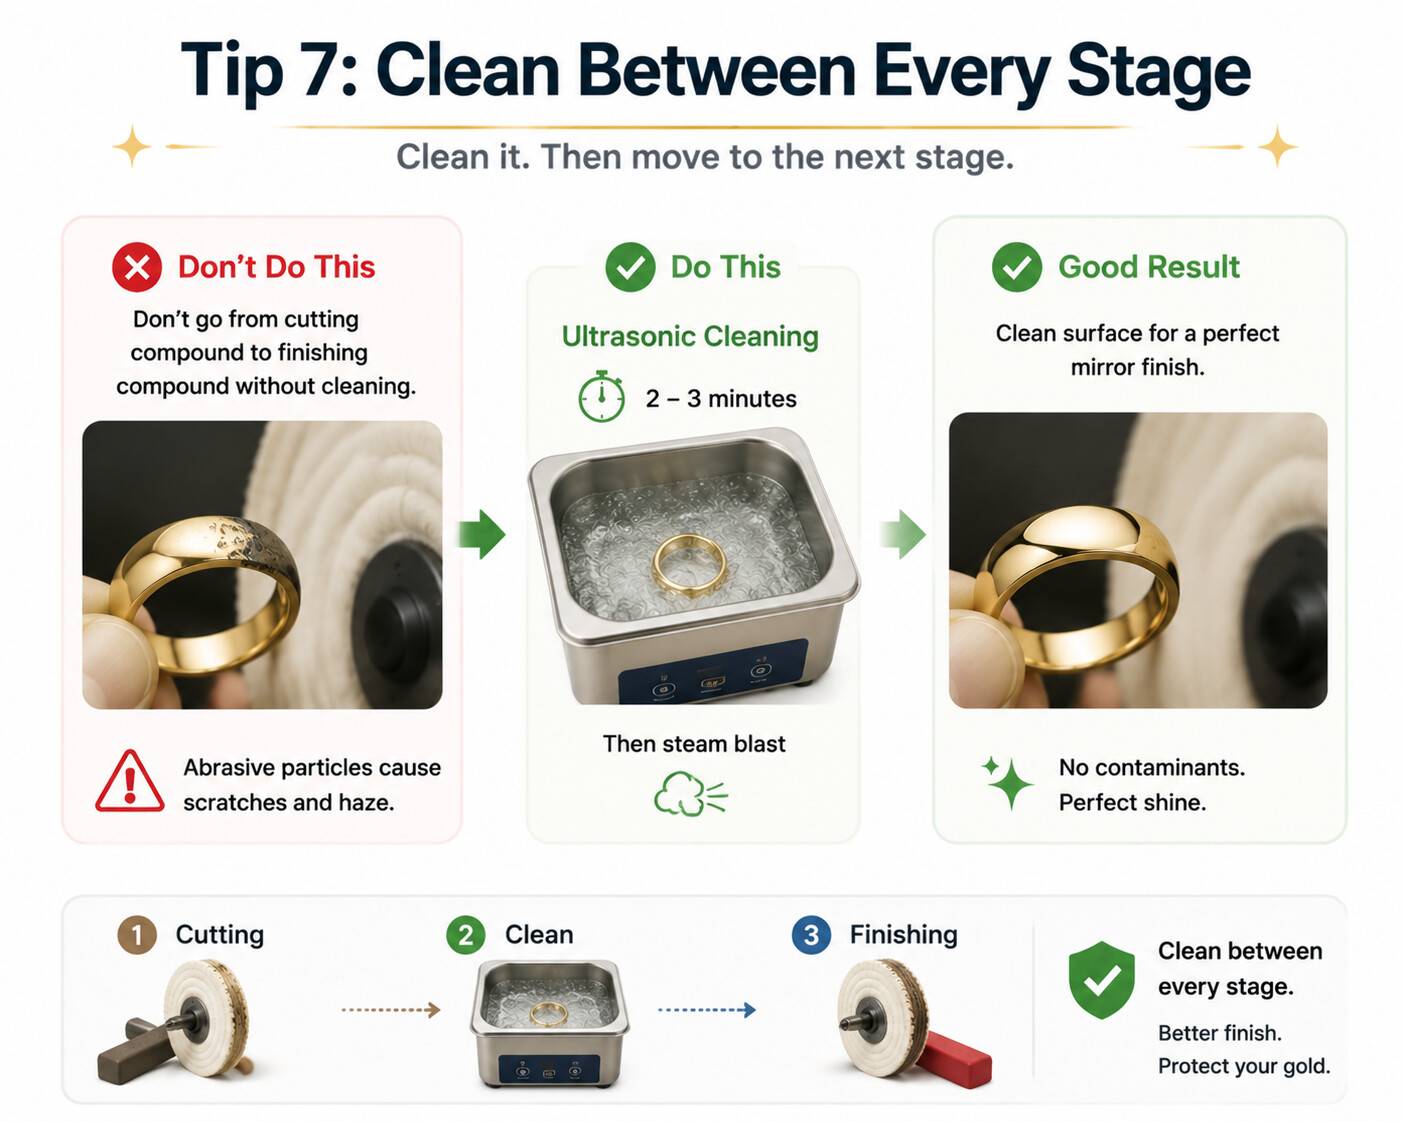
Tip 7: Enforce Ultrasonic Cleaning Between Every Stage

- Common Error: Transferring a gold ring directly from a Tripoli cutting wheel to a Rouge finishing wheel without intermediate degreasing.
- Key to Avoiding Pitfalls:
- Submerge rings in an ultrasonic cleaner filled with specialized jewelry detergent and wax stripper for 2 to 3 minutes between every compound transition, followed by a pressurized steam blast.
- Eliminating grease and coarse abrasive particulate ensures that aggressive grains are never dragged into the final mirror coloring stage, where they create stubborn hazy halos.
II. Quick Reference: Three-Stage Polishing Parameters for Gold Rings
| Polishing Stage | Primary Objective | Recommended Wheels & Consumables | Recommended Compound | Core Technique & Control |
| Stage 1: Coarse Cutting | Eradicate pre-sanding lines; level parting seams and minor porosity | Stitched muslin buff, hard-felt wheel, or treated yellow wheel | Tripoli or Brown Compound | Moderate downward pressure; continuous 45° diagonal sweep; zero dwell time. |
| Stage 2: Medium Pre-Finishing | Eliminate Tripoli drag marks; establish uniform semi-bright base | Unstitched cotton wheel, fine wool buff, or lead-center chamois | White Compound or Green Dialux | Light-to-moderate pressure; constant movement; track parallel to sharp edges. |
| Stage 3: Mirror Finishing / Coloring | Elicit deep, reflective specular gloss without surface haze | Ultra-soft flannel wheel, loose unstitched pure cotton buff | Red Rouge or Blue Dialux | Featherlight touch; quick sweeping strokes; micro-dosed compound layers. |
Conclusion
Mastering high-standard gold ring polishing is fundamentally an art of controlled material removal. True craftsmanship lies in eliminating micro-abrasions and bringing out gold's natural, rich luster while conserving precious metal weight and maintaining crisp structural geometry.Professional workshops should enforce clear Standard Operating Procedures (SOPs), separate dirty cutting stations from clean finishing zones, and monitor consumable wear to keep loss rates predictable. As a dedicated ring polishing consumables manufacturer and supplier, Orobrush provides specialized buffing wheels, miniature bristle brushes, and mounted felt points tailored for bulk wholesale and custom industrial workshop setups.